
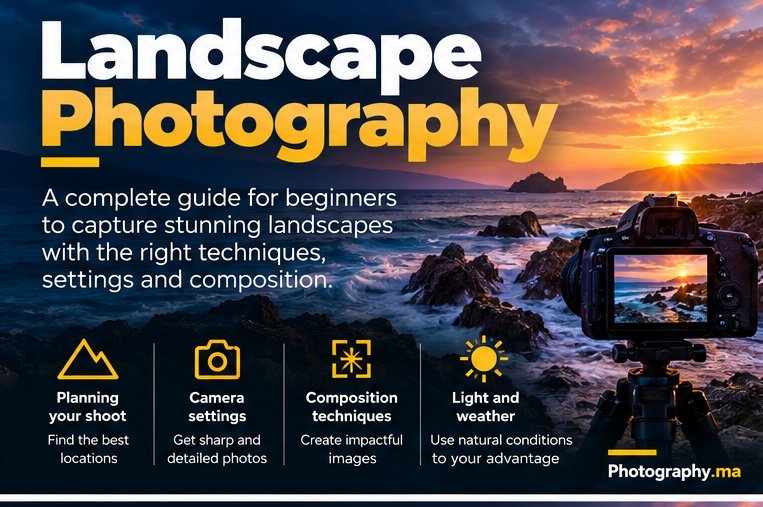
Landscape photography is not mainly about owning a wide-angle lens or traveling to dramatic locations. It is about learning to recognize light, organize a scene, control exposure, and decide what should be sharp.
For a beginner, the most useful approach is simple: identify what attracted you to the scene, build the composition around it, choose settings that protect image quality and depth of field, then check the result before moving on.
A practical starting point in many daylight situations is Aperture Priority, a low ISO, and an aperture around f/8. But those are starting points, not rules. A windy foreground, a moving wave, a dark forest, or a scene with an extremely close foreground may require a completely different shutter speed, aperture, ISO, or focusing method.
These landscape photography tips for beginners become easier to apply once you understand how aperture, shutter speed, and ISO work together.
This guide explains how to make those decisions in the field without turning landscape photography into a list of rigid settings.
As you practice these landscape photography tips for beginners, concentrate on one improvement at a time rather than changing every setting at once.
Landscape Photography Tips for Beginners: Camera Settings
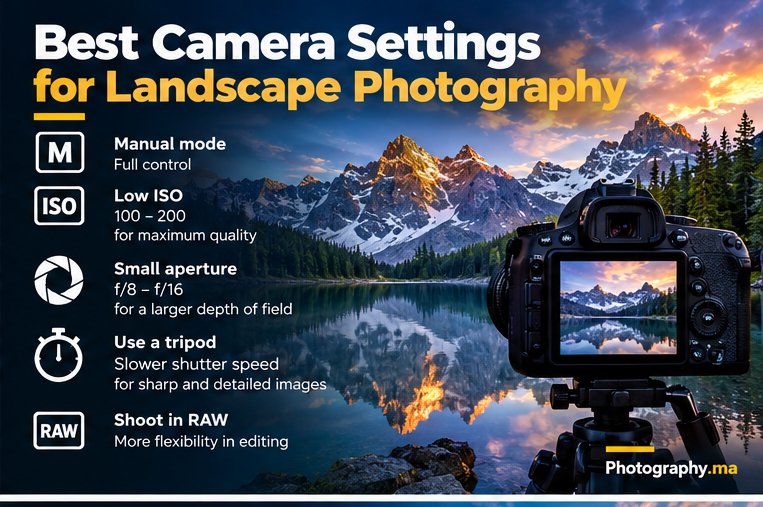
Use this table as a starting point, then adapt it to the scene.
| Situation | Mode | Aperture | ISO | Shutter speed / priority |
| General daylight landscape | Aperture Priority | Around f/8 | Lowest practical native ISO | Let camera choose; check for camera shake |
| Handheld landscape | Aperture Priority | f/5.6–f/8 as needed | Auto ISO or raise ISO when necessary | Keep fast enough for your focal length and stability |
| Tripod, static scene | Aperture Priority or Manual | Often f/5.6–f/11 | Low ISO | Can be slow if nothing important is moving |
| Moving water, frozen detail | Shutter Priority or Manual | As depth of field requires | Auto/adjust as needed | Use a faster shutter speed |
| Moving water, intentional blur | Manual or Shutter Priority | As required | Low ISO | Use a deliberately slow shutter speed; tripod often helpful |
| Very close foreground + distant background | Manual/Aperture Priority | Moderate aperture | Low ISO | Consider focus stacking instead of extreme stopping down |
The goal is not to memorize one “landscape setting.” It is to understand which variable matters most in the scene in front of you.
1. Start With the Light, Not the Camera
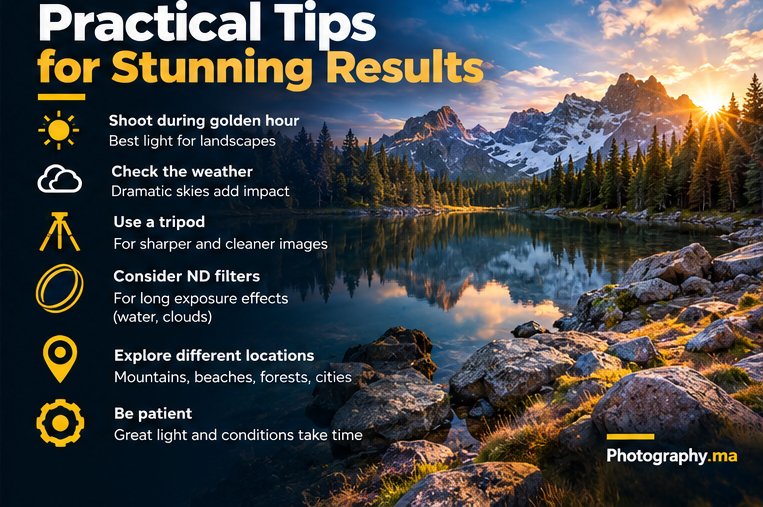
Light can change the same landscape more dramatically than a new camera or lens. Direction, softness, color, and contrast determine whether textures stand out, shadows create depth, or the scene looks flat.
Golden hour is useful, but it is not mandatory
Early morning and late afternoon often produce lower-angle light, longer shadows, and warmer color. That can make terrain and texture easier to read. But “avoid midday light” is too simplistic. Midday can work for graphic compositions, strong color, deserts, coastlines, architecture, reflections, or scenes where hard contrast is part of the idea.
Instead of asking whether the light is good or bad, ask what the light is doing. Is it revealing texture? Creating separation? Producing distracting highlights? Making the sky more interesting than the foreground? That question leads to better decisions than following a clock.
Return when the conditions are better
Landscape photography rewards patience. If a location has potential but the light is flat, the useful decision may be to return later rather than force a photograph. Weather, clouds, mist, changing tides, and seasonal conditions can transform an ordinary composition.
2. Decide What the Photograph Is About
A common beginner mistake is trying to include everything because the whole view looks impressive in person. A photograph has edges. Once the scene is reduced to a frame, unrelated elements can compete for attention.
Before touching the settings, finish this sentence: “This photograph is about…” It might be the curve of a road, light hitting one mountain, repeating dunes, a reflection, a lone tree, or the scale of a person against a large landscape.
Then remove or reposition anything that weakens that idea. Walk a few meters left or right. Get lower. Move closer to the foreground. Zoom in. Sometimes the strongest landscape is a small part of the view rather than the entire panorama.
3. Build Depth With Foreground, Midground, and Background
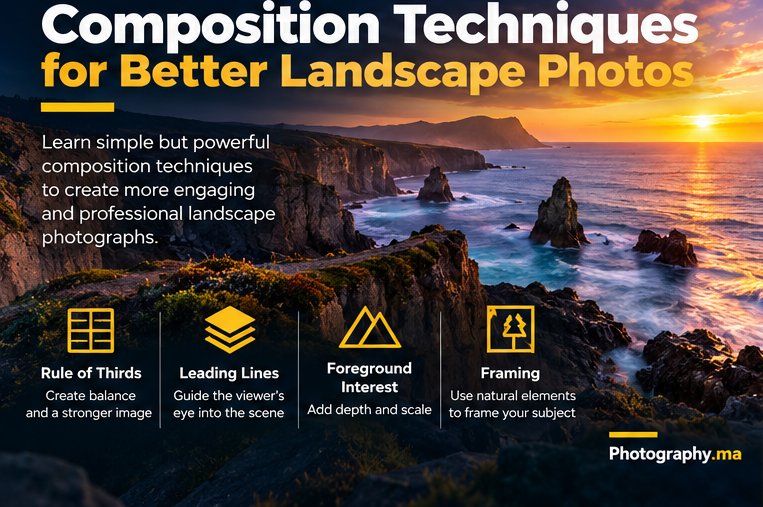
Large landscapes can look flatter in a photograph than they felt in person. One way to create visual depth is to organize the frame into layers.
A foreground can give the viewer an entry point: rocks, flowers, sand patterns, a path, water, or another meaningful element. The midground can connect that foreground to the main subject, while the background establishes scale or context.
Do not add foreground interest merely because a checklist says you need it. A weak rock occupying a third of the frame does not automatically improve a mountain photograph. The foreground should support the main idea and lead the eye rather than compete with it.
Use leading lines when they genuinely lead
Roads, rivers, shorelines, fences, shadows, and repeating shapes can guide attention through the frame. Their value comes from where they take the viewer. A strong line that leads directly out of the image can be less useful than a subtle line that connects foreground and subject.
Treat the rule of thirds as an option
Placing a horizon near the upper or lower third can create a clear emphasis, but centering it can work beautifully with symmetry and reflections. Composition guidelines are tools for organizing visual information, not rules that every landscape must obey.
4. Choose the Aperture for the Depth of Field You Need
Aperture affects both exposure and depth of field. For many landscapes, photographers want a substantial range from near to far to appear acceptably sharp, which is why moderate apertures such as f/8 are common starting points.
That does not mean every landscape should be photographed at f/8–f/11. If nothing important is close to the camera, f/5.6 may provide enough depth of field. If a foreground object is extremely close, even f/11 may not keep both that object and a distant mountain acceptably sharp in one frame.
Why the smallest aperture is not always best
Stopping a lens down increases depth of field, but very small apertures also increase diffraction, which can reduce fine detail. The exact point at which diffraction becomes noticeable depends on the camera, output size, lens, and viewing conditions.
So do not automatically choose f/16 or f/22 just because you want “everything sharp.” First decide how much depth of field the composition actually requires. If the scene exceeds what one exposure can reasonably cover, focus stacking can be a better technique than forcing the lens to its smallest aperture.
5. Focus Deliberately — Don’t Rely on the One-Third Rule
The old advice to “focus one-third into the scene” can occasionally produce an acceptable result, but it is not a dependable universal rule. Depth of field changes with focal length, aperture, focusing distance, sensor format, viewing size, and how close the nearest important subject is.
A better beginner method is to identify the nearest and farthest elements that actually need to appear sharp, place focus deliberately, take a test image, and inspect the important areas at magnified playback.
When hyperfocal distance helps
Hyperfocal focusing is a method for placing focus so that the depth of field extends from a nearer distance out to infinity for a chosen focal length and aperture. It can be useful when you need both foreground and distant detail, but calculators and lens scales should still be treated as practical guides rather than guarantees of pixel-level sharpness.
When focus stacking is better
If a flower, rock, or other foreground element is very close to the lens while the background is far away, one frame may not provide enough depth of field at an aperture that preserves good detail. On a tripod, you can make several photographs focused at progressively farther distances and blend them later. This is an advanced option, not something every landscape requires.
6. Use Shutter Speed Creatively — and Protect Sharpness
Landscape subjects may be stationary, but the landscape often contains movement: water, grass, leaves, clouds, people, boats, or waves.
If you want moving details to look crisp, use a shutter speed fast enough for that motion. If you want water or clouds to blur deliberately, use a slower shutter speed and stabilize the camera when necessary.
When shooting handheld, camera movement becomes another limitation. There is no single minimum shutter speed that works for everyone. Focal length, stabilization, technique, camera resolution, wind, and how large the image will be viewed all matter.
If your photographs look soft, separate the possible causes: missed focus, camera shake, subject motion, atmospheric haze, or lens limitations. The Photography.ma guide How to Take Sharp Photos covers that troubleshooting in more depth.
7. Keep ISO Low When You Can — Raise It When You Need To
Low ISO generally gives you the greatest exposure latitude and lowest noise, so it is a sensible choice for a tripod-mounted static landscape. But “always use ISO 100” is not good field advice.
If you are handholding at dusk, photographing wind-blown foliage, or trying to freeze waves, raising ISO may be preferable to accepting unwanted motion blur. A technically cleaner low-ISO file is not useful if the important subject is blurred.
Think of ISO as part of the exposure decision rather than a quality setting that must always remain at its minimum. If the relationship between ISO, aperture, and shutter speed is still unfamiliar, see ISO, Aperture, and Shutter Speed Explained.
8. Protect Highlights and Learn to Read the Histogram
Landscape scenes often contain a large brightness range: a bright sky above a darker foreground, sunlight reflecting from water, or patches of direct sun inside a shaded valley.
The camera preview can be misleading because screen brightness changes how the image looks. A histogram provides another way to evaluate the distribution of tones. In a brightness histogram, information toward the left represents darker tones and information toward the right represents brighter tones.
There is no universally “correct” histogram shape. A night scene should naturally contain many dark tones; a snow scene may contain many bright ones. What matters is whether important highlights or shadows are being clipped beyond what you can accept.
Use exposure compensation when the camera gets it wrong
In Aperture Priority, exposure compensation is often the quickest way to correct a scene that the camera renders too bright or too dark. If bright clouds are losing important detail, reduce exposure and check again. If the image is unnecessarily dark and highlights have room, increase exposure.
If your camera provides highlight warnings or zebras, they can also help identify areas approaching or reaching clipping.
9. A Tripod Is a Tool, Not a Requirement
A tripod is useful when shutter speeds become too slow to handhold reliably, when you want consistent framing for exposure blending or focus stacking, or when you deliberately use long exposures.
But you do not need a tripod for every landscape. Modern stabilization, good handholding technique, and sufficient light can make handheld landscape photography practical. Leaving the tripod behind can also encourage you to move more freely and test different viewpoints.
Use a tripod because the photograph requires it, not because landscape photography is supposed to involve one.
10. Understand What Polarizers and ND Filters Actually Do
Circular polarizer
A circular polarizing filter can reduce certain reflections from non-metallic surfaces such as water or foliage and can change the appearance of blue sky depending on the angle to the sun. The effect is strongest at particular angles and can become uneven across a very wide field of view.
A polarizer also reduces the amount of light reaching the sensor, so you may need a slower shutter speed or higher ISO.
Neutral-density filter
An ND filter reduces the amount of light entering the lens without being intended to change color. Its main landscape use is allowing a longer exposure in conditions that would otherwise be too bright—for example, when you deliberately want smoother water or cloud movement.
Neither filter is mandatory for beginners. Learn exposure and composition first; buy a filter when you can describe the specific problem it will solve.
11. Wide-Angle Lenses Are Useful — Not Mandatory
Wide-angle lenses are popular for landscapes because they include a broad field of view and can emphasize the relationship between a close foreground and a distant background.
But a wide lens can also make distant mountains look small and leave large areas of empty frame. A normal or telephoto lens can simplify a scene, isolate layers, compress the apparent spacing of distant elements, or emphasize patterns that disappear in a wide composition.
Before changing lenses, ask whether the photograph needs more context or less. If the scene feels cluttered, zooming in may improve it more than going wider.
12. Work With Weather Instead of Waiting for Perfect Weather
Clear skies are easy to plan for but are not automatically the most interesting. Clouds can add structure, storms can create dramatic light, mist can simplify a busy background, and changing weather can produce brief moments of separation between light and shadow.
Safety comes first. Do not remain exposed during dangerous storms, lightning, flooding, unstable surf, extreme heat, or other hazardous conditions for the sake of a photograph.
For ordinary changing weather, however, preparation helps: check forecasts, protect equipment from rain and spray, carry a microfiber cloth, and arrive early enough to observe how conditions are developing.
13. Slow Down and Refine the Frame
After making the obvious photograph, stay in place for another minute. Check the corners. Look for branches entering the frame, bright distractions, tilted horizons, overlapping objects, or a foreground that blocks rather than supports the subject.
Then change one thing. Move lower. Step sideways. Try a longer focal length. Wait for a person to leave—or enter—the frame. Make a vertical version. Simplify the sky. Include more of it. Small changes in camera position can matter more than changing equipment.
Landscape photography improves when you stop treating the first composition as the final composition.
Common Landscape Photography Mistakes
Using f/11 automatically
Aperture should solve a depth-of-field problem. If the scene does not require extensive near-to-far sharpness, a wider aperture may give you more shutter-speed flexibility and excellent detail.
Focusing at infinity every time
If important foreground elements are close, focusing at infinity can waste much of the available depth of field behind the point you actually need. Place focus according to the scene.
Using ISO 100 even when the photograph becomes blurry
Raise ISO when a faster shutter speed is necessary. Noise is often easier to tolerate than unintended motion blur.
Making every landscape ultra-wide
A wide field of view can include distractions and make the main subject appear small. Try normal and telephoto focal lengths as well.
Ignoring the edges of the frame
Bright objects, cut-off branches, partial rocks, and accidental overlaps often become obvious only after the excitement of the scene has passed. Check all four edges before moving on.
Overprocessing the sky
Heavy saturation, extreme clarity, aggressive dehazing, and unrealistic HDR can quickly make a landscape look unnatural. Editing should support the photograph rather than become the subject.
A Five-Minute Landscape Practice Exercise
You can practice these decisions without traveling anywhere dramatic. Go to a park, beach, street viewpoint, garden, or open space near home.
First, choose one clear subject and make a wide composition. Then make a second photograph from a different height or position. Make a third with a longer focal length that removes unnecessary surroundings.
Next, compare two apertures—for example, f/5.6 and f/8—while keeping the composition similar. Zoom into the foreground and background during playback and observe what actually changes.
Finally, make one exposure while watching the histogram and highlights rather than judging brightness only from the screen.
The goal is not to return with a masterpiece. It is to practice making one deliberate decision at a time.
Landscape Photography Field Checklist
- Identify the main subject before choosing settings.
- Look at the direction, contrast, and quality of the light.
- Check the foreground, midground, background, and frame edges.
- Choose aperture for the depth of field the scene actually needs.
- Place focus deliberately; do not rely automatically on “one-third into the scene.”
- Choose shutter speed for both camera stability and subject movement.
- Use the lowest ISO that still lets you achieve the shutter speed and aperture you need.
- Check the histogram and important highlights.
- Use a tripod only when the photograph benefits from it.
- Make at least one alternative composition before leaving.
Final Thoughts
Better landscape photography comes from making deliberate choices rather than applying the same recipe to every scene.
Start with the light and the subject. Build a composition that gives the viewer a clear path through the frame. Choose aperture for the depth of field you need, shutter speed for the movement you want, and ISO for the exposure the situation requires. Then check focus, highlights, and the edges of the frame before moving on.
The familiar advice—golden hour, f/8 to f/11, low ISO, tripod, rule of thirds—can all be useful. The important step is understanding when each suggestion solves a real problem and when the scene calls for something different.If you are still learning the controls that make these decisions possible, continue with Best Camera Settings for Beginners. Once the settings feel familiar, the biggest improvements usually come from light, composition, timing, and practice.
6 thoughts on “Landscape Photography Tips for Beginners: A Practical Field Guide”