
Travel photography tips for beginners should help you return with images that feel like the place you visited—not simply prove you were there. With a little planning, simple camera settings, and stronger compositions, you can make memorable photographs using a smartphone or camera.
This practical guide covers what to pack, how to find good light, how to photograph local life respectfully, and how to organize your pictures into a compelling visual story.
Table of Contents
What Makes Travel Photography Different?
Travel photography is the practice of telling the story of a place through images. It combines landscapes, architecture, street scenes, food, people, and small details. Unlike a single-subject genre, it asks you to respond to changing conditions while remaining respectful of the people and environments you encounter.
Effective travel photography tips for beginners start with a simple principle: do not try to photograph everything. Choose a few subjects that reveal what makes a destination distinctive. A wide view establishes the setting; a human-scale scene adds context; and a close detail provides texture. Together, these images say more than a collection of unrelated landmarks.
You do not need an expensive camera. A smartphone, compact camera, or interchangeable-lens system can all work well. Observation, timing, composition, and thoughtful editing usually matter more than carrying every accessory you own.
Plan a Travel Photography Story Before You Leave
Before your trip, identify a handful of places and experiences you genuinely want to photograph. Look at maps, sunrise and sunset directions, opening hours, local events, and transport times. A plan helps you arrive at the right moment, but leave room for unexpected discoveries.
Create a short shot list rather than a rigid checklist: an establishing view, a market or street scene, a portrait or candid moment where appropriate, a food or craft detail, and a transition between day and night. If one location offers several of these, you can tell a stronger story without rushing across the city.
Research cultural expectations before photographing people or sensitive sites. Some locations restrict photography, tripods, or commercial activity. Respect signs and requests, and ask permission when a person is clearly the main subject. A good image should not come at the expense of someone else’s comfort or privacy.
Travel Photography Gear: Pack Light and Stay Ready
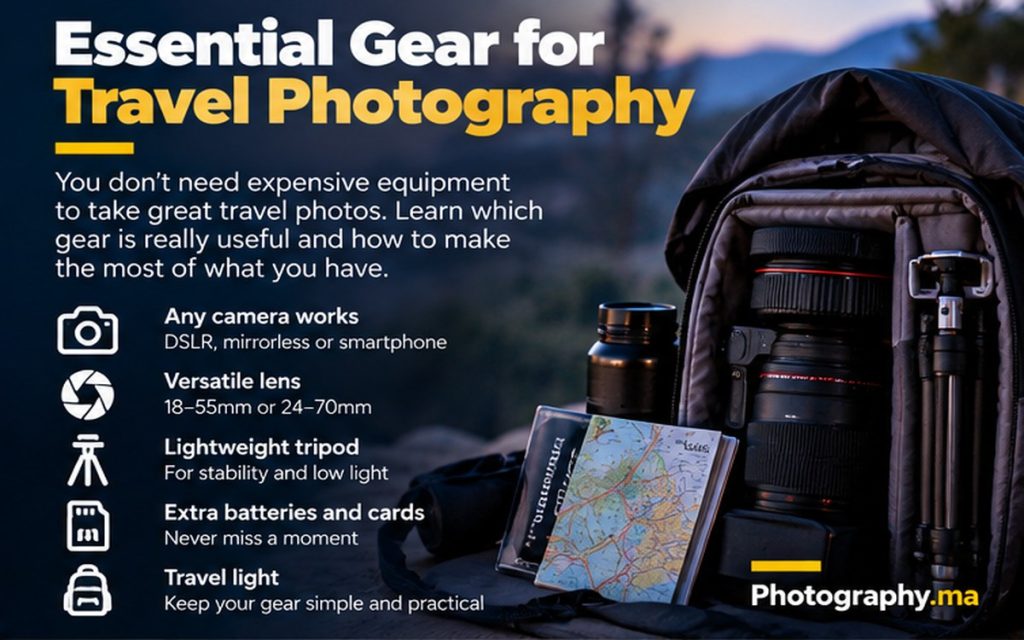
For most beginners, a camera with a versatile zoom or a smartphone is enough. An 18–55mm kit lens on an APS-C camera, or a roughly 24–70mm equivalent zoom, covers many situations. These ranges are examples, not requirements; a fixed focal length can be equally rewarding when you prefer to move your feet.
Carry a charged spare battery or power bank, adequate memory storage, a microfiber cloth, and a weather-appropriate bag. A small, lightweight tripod is useful for static twilight scenes, but check local restrictions and consider whether you will realistically carry it all day. A wrist or neck strap helps prevent accidental drops.
Keep valuables discreet and equipment accessible. A smaller bag often makes you more willing to explore and less likely to miss spontaneous moments. Back up photographs during longer trips to a second device or a trusted cloud service when connectivity allows, rather than relying on one memory card.
Camera Settings for Travel Photography
Aperture Priority is a useful starting mode when the light changes quickly. Choose aperture for the scene, then let the camera select shutter speed while you monitor its result. For a stationary landscape, f/5.6 to f/8 can be a practical starting point on many lenses. For a portrait or detail, a wider aperture can help separate the subject from the background.
Use Auto ISO with a sensible minimum shutter speed if your camera supports it. When photographing moving people, start around 1/250 second and adjust for their speed; faster movement may need 1/500 second or more. For still architecture, you can often use slower speeds if you have good stabilization and steady technique. No single shutter speed guarantees sharpness.
Shoot RAW when you want greater editing flexibility and have a workflow to manage larger files. JPEG or HEIF is a perfectly reasonable choice when you prioritize speed and simplicity. Review exposure with the histogram when bright skies or illuminated signs dominate the frame, and avoid assuming the camera screen always reflects final brightness. Learn more about aperture in photography.
Composition Techniques for Stronger Travel Photos
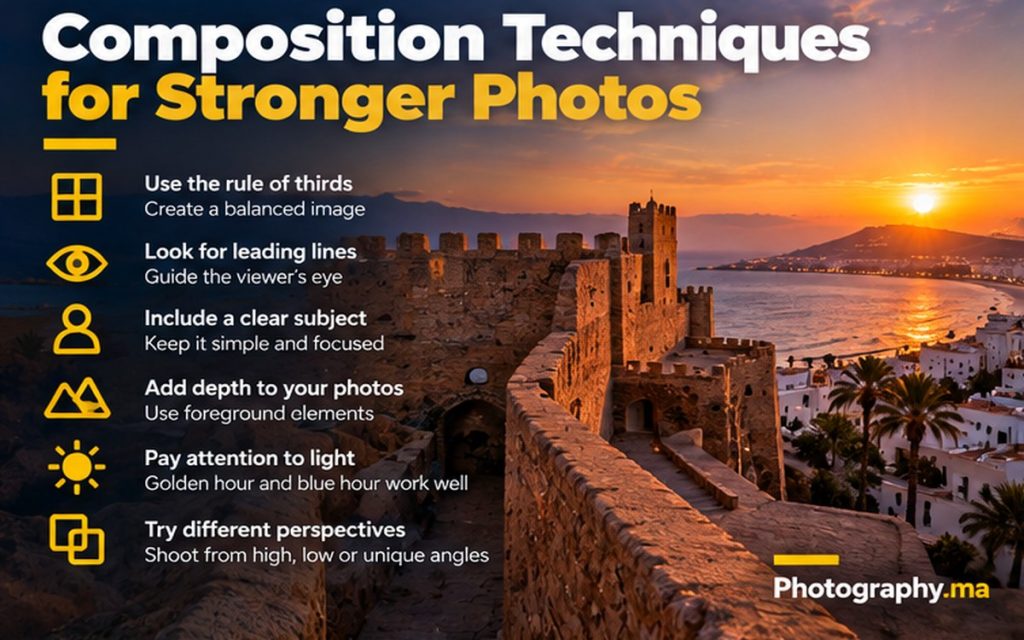
Begin with a clear subject. The rule of thirds is a helpful exercise, but it is not a law: a centered doorway, symmetrical courtyard, or isolated figure may look stronger in the middle. Ask what should attract attention first, then simplify the frame until that subject becomes obvious.
Use leading lines such as roads, stairways, shorelines, or rows of market stalls to create depth. Include a foreground element when it adds context rather than clutter. Photograph the same scene from eye level, from a lower position, and from a slightly higher viewpoint; these small changes can transform how objects overlap.
Pay attention to edges. A sign emerging from a person’s head or a bright object touching the frame can distract the viewer. Before pressing the shutter, scan all four corners and look for a cleaner position. For additional practice, see our photography composition rules guide. For more composition practice, read our photography composition rules guide.
Photograph Local Life Respectfully
Photographs of people can convey atmosphere, but consent and context matter. When someone is identifiable and clearly central to the frame, ask politely where practical. If the answer is no, accept it immediately. Be especially careful around children, religious spaces, vulnerable people, and private businesses.
Try environmental portraits that include the setting: a craftsperson with tools, a vendor with a stall, or a musician with an instrument. Explain why you are photographing and offer to show the result. Avoid assuming that a public space gives unlimited permission to intrude.
For candid street scenes, use a comfortable distance and be aware of local laws and customs. Photographs that capture gestures, layers, or interactions can tell a story without turning strangers into props. Patience and respect generally produce more meaningful images than rushing. See our portrait photography tips.
Use Golden Hour and Blue Hour Intentionally
Golden hour can add warm directional light to buildings, mountains, and portraits. Blue hour can balance cool twilight skies with warm city lights. These periods are especially useful for travel photography because familiar places can look dramatically different from midday.
Arrive before the light peaks so you can select your viewpoint. For a skyline at twilight, stabilize your camera and monitor shutter speed as the sky darkens. For a moving street scene, prioritize a fast enough shutter speed even if that means raising ISO. For detailed twilight techniques, read our blue hour photography guide.
Midday light is not automatically bad. Strong sun can create striking shadows, geometric patterns, and bright colors. Seek shade for portraits when overhead light is unflattering, or use the contrast deliberately for architecture. The important skill is adapting your subject to the available light.
Travel Photography Tips for Beginners Using a Smartphone
Clean the phone lens before every important scene. Tap the subject to focus and adjust exposure when the interface allows. Use the main camera in low light if it offers the best image quality, and avoid heavy digital zoom when you can safely move closer instead.
Turn on grid lines to check horizons and verticals. Hold the phone steady with both hands, brace against a solid surface, and take a second frame when the first might contain motion blur. Night mode can help with static scenes, but long capture times may blur pedestrians and vehicles.
Try a deliberate sequence: one wide establishing shot, one medium shot, and one close detail. The exercise works with any phone and trains storytelling more effectively than applying filters to dozens of similar frames. See our smartphone photography tips for more guidance. Read our smartphone photography tips.
Capture Details, Food, Architecture, and Landscapes

A strong travel gallery mixes scales. Photograph a sweeping coastline, then the texture of fishing nets, the pattern of tiles, or the hands preparing a meal—with permission when needed. These details help the viewer imagine being there.
For food, find soft window light and keep the background simple. For architecture, step back when possible to reduce extreme perspective and check that vertical lines are intentional. For landscapes, identify a foreground, middle distance, and background only when each contributes to the image.
Change focal length or position to remove distractions. A tight crop can communicate more than a wide frame filled with unrelated objects. When a scene is visually busy, wait for a person, vehicle, or shaft of light to create a clear focal point.
Avoid Common Travel Photography Mistakes
The first mistake is carrying too much gear. If your bag slows you down, leave nonessential lenses behind. The second is shooting only famous landmarks. Include quieter streets, transitions, and details to give the story a personal perspective.
Another mistake is ignoring the background. A beautiful subject can disappear into clutter; take two steps to the side and check the edges. Do not use a wide aperture for every scene: sometimes more depth of field makes the location easier to understand.
Finally, avoid editing every image with the same heavy preset. Mixed lighting, skin tones, and different environments respond differently. Keep colors believable, straighten horizons where appropriate, and select only your strongest frames. More photographs do not necessarily make a stronger travel story.
A Simple Travel Photography Workflow
At the start of each day, check your battery, storage, weather, and intended route. Photograph your first location with one wide frame, two medium compositions, and several details. If people are central to your story, make time for respectful interaction rather than relying on rushed snapshots.
During a break, review photographs for obvious technical problems but do not spend the entire trip looking at your screen. Delete only clear mistakes in the field if you are confident; a small preview can hide details worth keeping. Back up the day’s files when you return.
After the trip, make a first selection based on story rather than sharpness alone, then check technical quality. Edit a consistent set of perhaps eight to twelve images that includes variety in scale, light, and subject. Arrange them so each photograph contributes something new. For additional camera education, visit Nikon Learn & Explore.
Five Travel Photography Exercises to Try
Exercise one: photograph one place in five distinct ways without changing locations. Use wide, medium, close, low-angle, and reflected views. Exercise two: make a three-image story about a single activity, with a beginning, middle, and end.
Exercise three: photograph a color that repeats throughout a neighborhood. Exercise four: compare the same composition at midday and during twilight, then note what the light changes. Exercise five: make a portrait of a place without including a recognizable landmark, using textures, tools, signs, and atmosphere instead.
These exercises turn travel photography tips for beginners into repeatable habits. You will learn what attracts your eye, which technical choices you can control, and how to build a coherent collection instead of accumulating unrelated snapshots.
Travel Photography FAQ
What camera is best for travel photography? The one you can carry comfortably and use confidently. A phone can be enough, while a compact or interchangeable-lens camera offers different controls and optical options. Do I need a tripod? Only if you expect to make longer exposures or want a stable setup for repeatable framing.
Which lens should I take? A versatile zoom is convenient, but a lightweight prime can be excellent for travel. Should I shoot RAW? Choose RAW when you need editing flexibility and have storage and time; JPEG or HEIF is useful for fast sharing. How do I avoid blurry photos? Match shutter speed to subject motion and camera movement, focus deliberately, and review a few frames at high magnification.
How can I improve quickly? Select a theme, slow down, simplify compositions, and review your results. Consistent practice and thoughtful editing will usually improve your work faster than buying more equipment.
Final Thoughts
The best travel photography tips for beginners are practical: travel light, plan for good light, notice details, photograph people respectfully, and build a visual story. Use camera settings to support the image rather than allowing settings to become the goal.On your next trip, challenge yourself to return with ten photographs that work together. If each frame adds a different perspective on the place, you have created something more memorable than a folder of postcard views.