
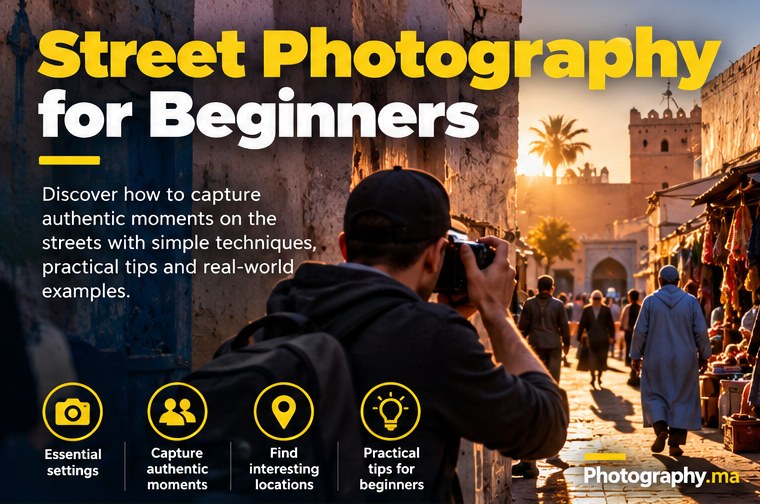
Street photography for beginners can feel intimidating: the scene changes quickly, strangers move unpredictably, and there is rarely time to perfect every camera setting. Yet those everyday moments are exactly what makes the genre compelling.
This practical guide explains how to choose a camera setup, handle moving subjects, compose stronger images, and photograph public life respectfully. You will also find a one-week practice plan that works with a camera or smartphone.
Table of Contents
What Is Street Photography for Beginners?
Street photography is the practice of observing everyday life in public spaces and making photographs that communicate something about a moment, a place, or the relationship between people and their surroundings. It is not limited to photographing strangers. Light falling across a wall, an empty bus stop, a market stall, or the movement of shadows can all become strong street photographs.
For a beginner, the challenge is less about owning an expensive camera and more about noticing what is happening. Instead of walking quickly in search of a spectacular event, choose a promising location and observe how people, color, gesture, and light interact. The decisive moment often appears only after you have understood the background.
This street photography for beginners guide focuses on practical decisions: where to stand, which settings to use, how to work respectfully, and how to build a coherent set of photographs rather than a collection of random snapshots.
Start With One Camera and One Lens
You can begin with a smartphone, compact camera, mirrorless camera, or DSLR. Familiarity matters more than the camera category. Learn how quickly you can focus, adjust exposure, and review a photograph without looking away from the scene for long.
A moderate wide-angle lens is popular because it includes a person and their environment. A 35 mm equivalent field of view is a useful starting point, while 50 mm equivalent can help simplify crowded scenes. These are preferences, not requirements. A zoom lens is also practical when you cannot change position safely.
Keep your setup simple. Carry a charged battery, enough storage, a cloth for the lens, and comfortable shoes. Avoid constantly changing equipment; repeated practice with one field of view teaches you to anticipate what will fit inside the frame.
Street Photography Camera Settings That Actually Work
In changing daylight, Aperture Priority with Auto ISO is often a practical starting point. Choose an aperture that gives the depth of field you need, and watch the shutter speed. For walking people, a shutter around 1/250 second can be a reasonable starting point; faster motion may require 1/500 second or more. Slow subjects and good technique may allow slower speeds.
If your camera supports a minimum shutter speed with Auto ISO, set it to suit your subject. Otherwise, Shutter Priority or Manual exposure with Auto ISO can make motion control easier. A wide aperture such as f/2.8 can isolate a subject, but f/5.6 or f/8 may be better when you want several layers of a street scene in focus.
Do not force ISO 100 when light is weak. A sharp photograph at ISO 1600 can be more useful than a blurred one at ISO 100. Check your actual camera results: sensor performance, image stabilization, focal length, and subject speed all affect the outcome. Learn more about exposure fundamentals in our camera settings guide.
How to Focus on Moving People
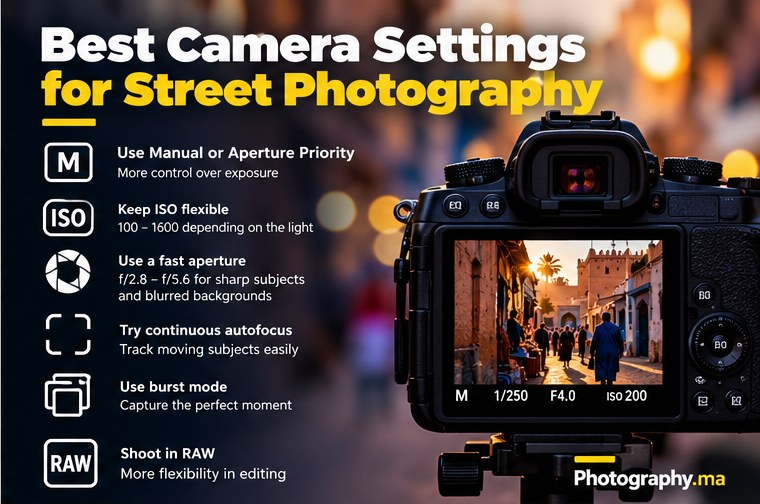
Continuous autofocus can help track someone walking toward you, while single autofocus is often adequate for stationary subjects. Subject detection can be convenient, but it may select the wrong face in a busy scene. Know how to move your focus area or override the camera when needed.
Pre-focusing is another option. Choose a doorway or patch of sunlight, focus at the distance where you expect someone to pass, and wait. With enough depth of field, this reduces the need to chase subjects with autofocus. The technique works especially well when the background is important.
Use burst mode sparingly. A short sequence can help capture a gesture or stride, but hundreds of nearly identical frames make editing harder. Anticipation and timing remain essential. For an explanation of tracking versus single autofocus, see autofocus modes explained.
Composition: Build a Frame Before the Moment
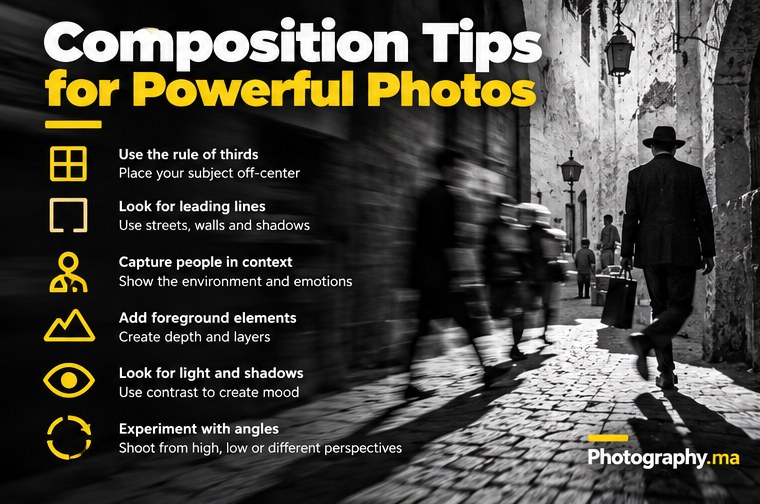
Look for an interesting background first: a brightly colored wall, repeating arches, an illuminated shop window, or a clean diagonal of shadow. Then wait for a person or moving element to complete the composition. This approach gives your photograph a deliberate structure.
Pay attention to the edges. A cut-off foot, distracting sign, or pole appearing to grow from a person’s head can weaken an otherwise strong frame. Take one step sideways, crouch slightly, or wait for a cleaner separation between subjects.
Leading lines, framing, reflections, and layers can guide attention, but rules are tools rather than obligations. Ask what the viewer should notice first. If the answer is unclear, simplify the frame by changing position or waiting for a less crowded moment. Review our photography composition rules.
Use Light, Shadow, and Color to Tell a Story
Midday light is not automatically bad for street photography. Hard sunlight creates strong shapes, silhouettes, and contrast that can be excellent for graphic compositions. Expose for important highlights when you want dark shadows to remain dramatic.
Early and late daylight gives a softer, warmer look and long shadows. Overcast skies can produce gentle portraits and even color, while storefronts and streetlights add interest after dark. Rather than seeking one ideal time, choose light that suits your subject.
Color can be the central idea of a photograph. Watch for repeated red umbrellas, complementary clothing and walls, or a small bright object against a muted street. Black and white works when gesture, texture, shape, and tonal contrast are more important than color.
Where to Practice Street Photography
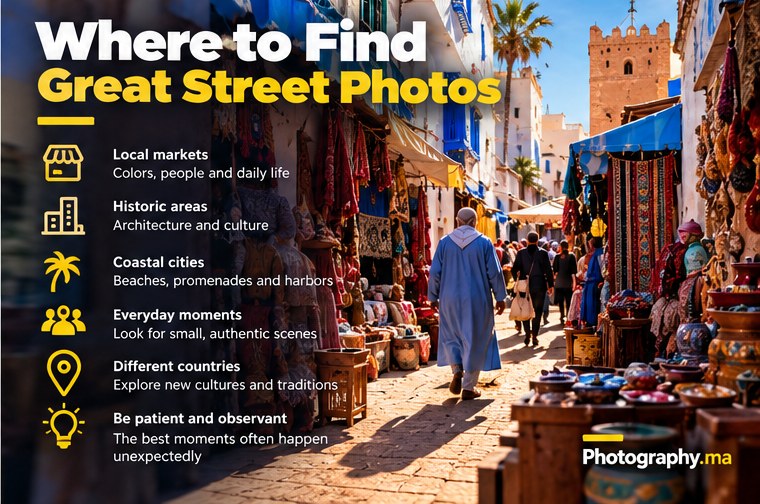
Markets offer gestures, movement, colors, and layers, but they can also be crowded and sensitive spaces. Start by photographing the wider environment rather than putting a camera close to someone’s face. Historic streets provide architectural frames; waterfront promenades offer silhouettes and reflections; public transport areas can create interesting patterns, subject to local restrictions.
Revisit the same location at different times. A street that seems ordinary in the morning can become visually rich in the afternoon when shadows change. Repeated visits also help you understand the flow of people and find a safe place to stand.
Create a small assignment: photograph five examples of reflections, five frames with a single dominant color, or five moments where people interact with architecture. Constraints help you develop an eye instead of relying on chance.
Photograph People Respectfully and Know the Rules
Photography laws and privacy expectations differ between countries and locations. Public access does not automatically mean every photograph can be published or used commercially. Research the rules where you shoot, especially around children, sensitive sites, private property, and commercial use of recognizable people.
Be courteous. If someone objects, stop and respond calmly. If a person seems uncomfortable, you can move on or ask permission. Street photography does not require confrontation. Asking permission may produce a different kind of portrait, but it can also create a meaningful human connection.
Never block a path, create danger near traffic, or photograph vulnerable people simply for shock value. Ethical judgment is part of good visual storytelling, not an optional extra.
Street Photography With a Smartphone
A smartphone is discreet, quick to use, and always available. Clean the lens, enable the grid if it helps your composition, and learn how to lock focus and exposure on your model. Use the main camera for the best low-light results in many phones.
Avoid excessive digital zoom when it noticeably reduces detail. Move closer only when it is safe and respectful, or embrace a wider environmental composition. Burst mode can help with fast gestures, but check that the phone has not selected an awkward frame.
In low light, Night mode may combine multiple exposures and blur moving people. When motion matters, prefer a shorter capture even if the image is darker. The best street photograph is not always the brightest one. For more phone-specific techniques, explore smartphone photography tips.
Editing Street Photos Without Losing Authenticity
Begin by selecting, not editing. Choose images with a clear subject, strong timing, and intentional framing. Compare similar frames and keep the one with the strongest gesture or relationship between elements. A technically perfect photograph with no story may be less effective than a slightly imperfect frame with a memorable moment.
Adjust exposure, contrast, color balance, and crop conservatively. Recover highlights where useful, but allow dark shadows to stay dark when they support the mood. Excessive clarity, sharpening, and saturation can make ordinary scenes look artificial.
Be especially careful with manipulations that add, remove, or reposition documentary elements. If the photograph is presented as an authentic street moment, changes that alter its factual meaning should not be hidden. For foundational advice on documentary photography, see Adobe photography tutorials.
Common Street Photography Mistakes
The first mistake is shooting everything without deciding what matters. Pause and identify the subject. The second is using a shutter speed that is too slow for moving people; review sharpness at full size. The third is always shooting from eye level; a small change in height or angle can transform the relationship between foreground and background.
Another common mistake is photographing only unusual strangers while ignoring light and composition. Look for quieter moments too. Finally, do not judge a session only by the number of keepers. A few thoughtful images from an hour of observation can represent real progress.
A Seven-Day Street Photography Practice Plan
Day 1: photograph lines, doors, and architectural frames without people. Day 2: focus on shadows and silhouettes. Day 3: look for repeated colors. Day 4: choose a fixed location and wait for one person to complete the composition. Day 5: practice motion, comparing different shutter speeds.
Day 6: create a sequence of five photographs that describes one neighborhood without relying on captions. Day 7: review the week and select your ten strongest images. For each, note the subject, the strongest visual element, and one thing you would improve next time.
This exercise develops both observation and editing judgment. Repeat it with a different focal length or time of day to see how your decisions change.
Street Photography for Beginners: Frequently Asked Questions
Do I need permission to photograph people? The answer depends on local law, location, intended use, and context. Respect objections and research rules before shooting or publishing. Is a 35 mm lens mandatory? No. It is one popular field of view, but a phone, zoom, or 50 mm equivalent lens can work well.
Which camera mode should I use? Aperture Priority with Auto ISO is a flexible starting point, but Shutter Priority can be better when you need to control motion. Should I shoot RAW? RAW offers editing flexibility, but JPEG can work well when exposure and white balance are handled carefully.
Is black and white better? Neither style is inherently superior. Use black and white when shape and gesture carry the image, and color when hues are part of the story.
Final Thoughts: Develop Your Own Way of Seeing
The most useful street photography for beginners advice is to slow down, choose a subject, and watch how the scene develops. Learn a small set of camera controls so technical decisions do not distract you from observation. Be patient, stay safe, and treat people with respect.Over time, your photographs will become more consistent because you will recognize patterns in the subjects, light, and moments that interest you. A personal style grows from repeated choices, not from a preset or a particular camera.