
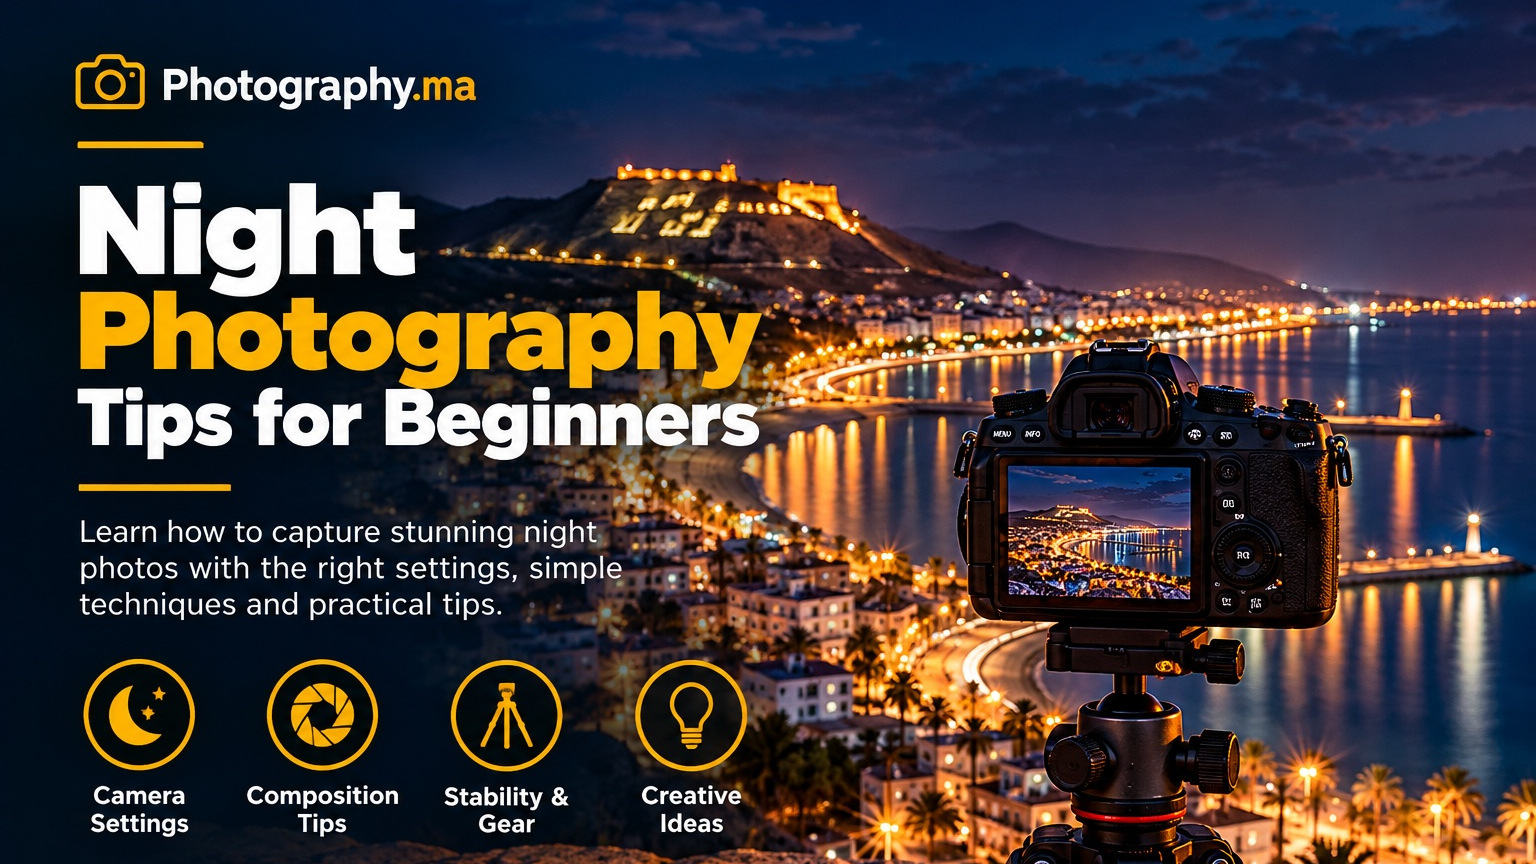
Night photography turns ordinary streets, skylines, and coastlines into dramatic scenes. The challenge is that your camera receives much less light than it does during the day. Automatic settings may produce blurred subjects, excessive noise, or a bright sky with little detail. The good news is that you do not need expensive equipment to improve your results. With a stable camera, a deliberate exposure, and a little patience, beginners can create striking photographs after dark.
These night photography tips for beginners cover the decisions that matter most: what to photograph, how to expose a dark scene, when to use a tripod, and how to focus reliably. Start with one scene and change one setting at a time. Comparing the results teaches you more than memorizing a single “perfect” exposure.
Table of Contents
1. Understand the Exposure Triangle After Dark
Aperture, shutter speed, and ISO control exposure together. Aperture changes how much light passes through the lens and how much of the scene looks sharp. Shutter speed determines how long light reaches the sensor and whether movement blurs. ISO controls amplification of the captured signal; raising it brightens the recorded image but can make noise more noticeable. There is no universally correct combination because moving subjects and stationary landscapes demand different choices.
For a static scene on a tripod, begin around f/5.6 to f/8, ISO 100–400, and a shutter speed long enough to expose the scene. For handheld photographs, open the aperture to f/1.8–f/2.8 if your lens allows, raise ISO as needed, and choose a shutter speed fast enough for your subject. Stabilization can reduce camera shake, but it cannot freeze a walking person.
For a deeper explanation, see our guide to ISO, Aperture and Shutter Speed Explained.
2. Night Photography Tips for Beginners: Start with a Stable Camera
Camera movement becomes more obvious as exposures get longer. A sturdy tripod lets you keep ISO lower and use shutter speeds of several seconds without introducing shake. Spread the legs fully, avoid extending the center column when possible, and position the tripod away from traffic vibrations. In strong wind, lower the tripod and shield it with your body without touching it during the exposure.
Use a two-second self-timer or a remote shutter release. This prevents the tiny movement caused by pressing the shutter button. If your lens or camera manual recommends disabling optical stabilization while firmly mounted on a tripod, follow that guidance; stabilization systems behave differently. Always verify sharpness at 100% magnification rather than judging only the small preview.
For a deeper explanation, see our guide to Tripod Photography Tips for Beginners.
3. Choose Settings for the Subject, Not Just the Light
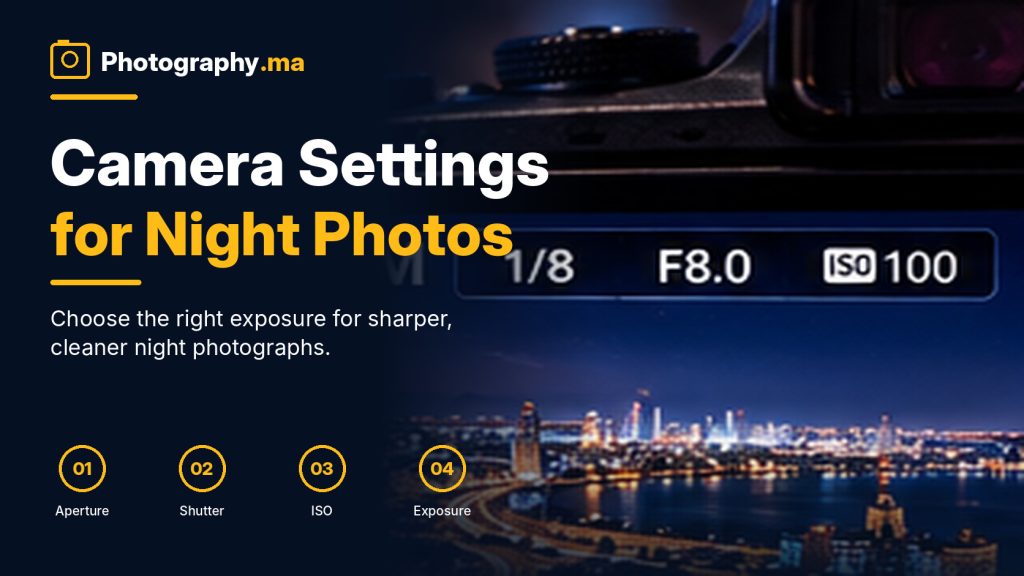
A quiet skyline is not the same as a busy market. Use the following starting points as experiments, not fixed rules. For cityscapes on a tripod, try ISO 100, f/8, and 2–10 seconds, then check the histogram. For a handheld street scene, try 1/125 second, the widest practical aperture, and Auto ISO with an upper limit you find acceptable. For light trails, start around ISO 100, f/8, and 5–15 seconds; the best duration depends on traffic speed and brightness.
For stars, begin with a wide lens, a wide aperture, and an exposure short enough to avoid visible star trails. The often-quoted 500 rule is only a rough starting point; high-resolution sensors and close inspection may require shorter exposures. The exact result depends on focal length, sensor format, and your tolerance for trailing. For the moon, remember that it is sunlit and much brighter than the surrounding sky: a fast shutter and lower ISO may work better than a long exposure. For additional examples, explore Adobe’s night photography guide.
4. Focus Reliably in Low Light
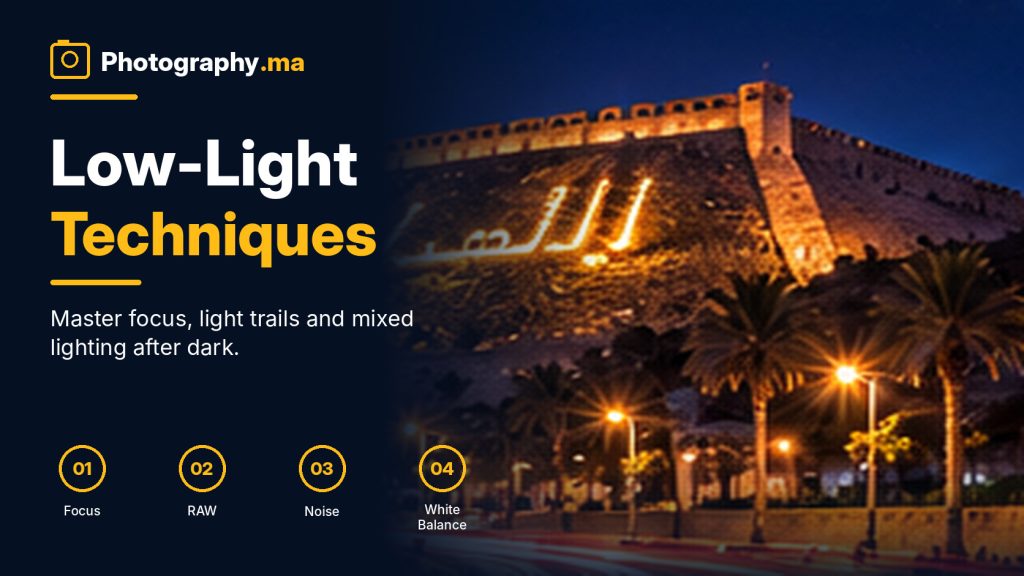
Autofocus may hunt when the scene has little contrast. Aim a single autofocus point at a well-lit edge, such as a building sign or a distant lamp, then lock focus before recomposing. For static landscapes, magnify live view and focus manually on a bright distant feature. Avoid blindly turning the lens to its infinity stop; on some lenses the sharpest infinity position is slightly before or beyond the printed mark.
Take a test image and zoom into the most important detail. If it looks soft, check whether the problem is focus, camera shake, or subject movement. These are different issues and need different solutions. Do not assume that a faster lens automatically guarantees accurate autofocus. More camera-specific tutorials are available in Nikon’s Learn & Explore library.
For a deeper explanation, see our guide to Autofocus Modes Explained.
5. Expose for Highlights and Read the Histogram
Night scenes often include very bright lamps against deep shadows. If you expose until every shadow looks bright, neon signs and illuminated windows may lose detail. Check the RGB histogram and highlight warnings when available. A little clipping in tiny point lights is sometimes unavoidable, but important bright areas should retain texture. Shoot RAW when possible so you have more flexibility adjusting white balance, highlights, and shadows later.
Exposure compensation helps in aperture-priority or shutter-priority mode. At night, a camera meter can try to turn dark surroundings into middle gray. Negative exposure compensation can preserve a genuinely dark atmosphere. In manual mode, change aperture, shutter speed, or ISO directly. Judge the scene, not merely the meter’s zero mark.
For a deeper explanation, see our guide to How to Read a Camera Histogram.
6. Control White Balance and Mixed Lighting
Streetlights, storefronts, car headlights, and twilight sky often have different color temperatures. Auto white balance may change from frame to frame, making a photo series inconsistent. Try a fixed Kelvin value as a starting point, then adjust based on the scene. Cooler settings can emphasize blue-hour skies, while warmer settings may preserve the atmosphere of tungsten-style lighting. There is no requirement to make every light source neutral.
If you photograph in RAW, white balance can usually be adjusted with much greater flexibility during editing. For JPEG, take extra care in camera because extreme corrections can reduce image quality. Compare versions and choose the one that feels natural to the location rather than chasing a mathematically neutral result.
For a deeper explanation, see our guide to White Balance Explained.
7. Compose with Light, Layers, and Reflections
Strong night images usually have a clear subject. A brightly lit doorway, an illuminated bridge, or a person standing beneath a streetlamp can anchor the frame. Look for leading lines made by roads, railings, and rows of lights. Add foreground shapes to create depth, but avoid clutter that distracts from the main subject. Leave enough negative space for the darkness to feel intentional.
Water, wet pavement, and glass can multiply light sources through reflections. After rain, even an ordinary street can become visually rich. Try a low camera position to bring the reflection into the foreground. Recheck the frame edges for distracting signs, cut-off lamps, and bright objects that pull attention away from your subject.
For a deeper explanation, see our guide to Photography Composition Rules.
8. Try Light Trails and Other Creative Effects
Vehicle light trails are an accessible creative exercise. Choose a safe, legal position overlooking a road, mount the camera on a tripod, and use a long exposure. A five-second exposure records a short path; a longer exposure may create continuous lines. If the scene becomes too bright, lower ISO, stop down, or wait for dimmer conditions. Never stand in traffic or obstruct pedestrians to get a photograph.
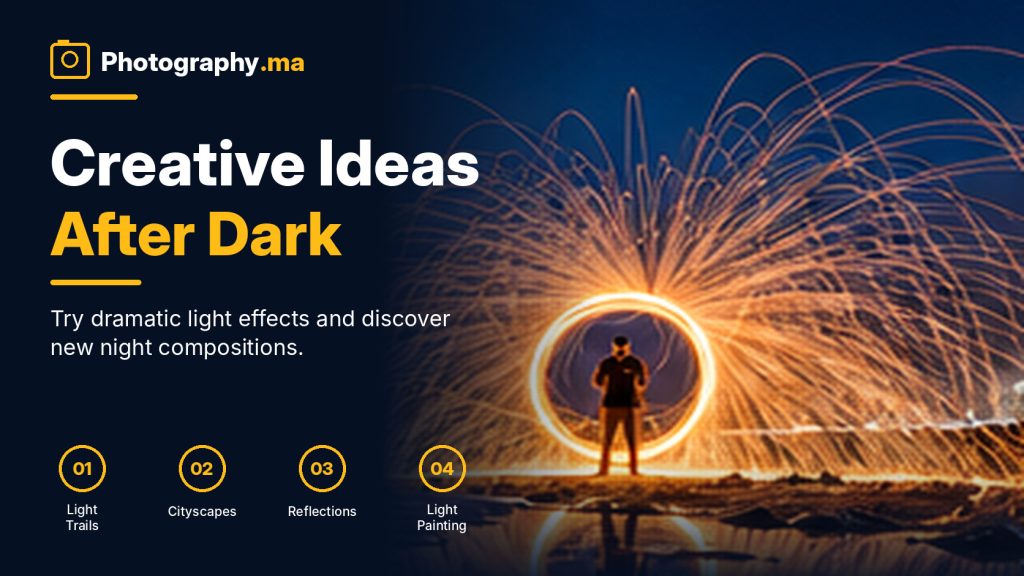
Light painting is another option: with the camera stationary and the shutter open, move a small light through the scene. Practice subtle illumination before drawing elaborate shapes. You can also capture silhouettes against shop windows, glowing reflections in puddles, or a sequence of changing clouds. The goal is not to use every effect at once; one visual idea is usually stronger.
9. Use RAW and Edit with Restraint
RAW files typically preserve more editing flexibility than JPEG, especially for scenes containing bright highlights and dark shadows. Begin by correcting lens distortion and white balance, then adjust exposure and contrast. Lift shadows only as much as the subject needs; pushing every dark area bright can reveal noise and flatten the atmosphere. Use noise reduction carefully so fine details do not turn waxy.
Sharpen only after assessing focus at full size. No editing slider can completely repair a badly missed focus or a heavily shaken frame. Compare your edited image with the original regularly. If the lights lose their color and the night starts looking like daytime, reduce the adjustments.
For a deeper explanation, see our guide to RAW vs JPEG.
10. Common Night Photography Mistakes
The most common mistake is choosing a slow shutter while holding the camera. Others include raising ISO without checking whether a tripod would help, leaving autofocus on a low-contrast subject, and judging sharpness from a tiny LCD preview. Many beginners also overexpose the sky because the camera meter expects an average midtone.
Another frequent problem is using a narrow aperture for every shot. At f/16 or f/22, diffraction may reduce fine detail, and the resulting exposure may become unnecessarily long. Choose the aperture based on depth of field and lens performance. Finally, protect your gear from moisture and condensation: allow a cold camera to warm gradually in a bag when moving indoors.
11. A Simple 30-Minute Practice Session
Spend the first five minutes finding one safe location with a distinct subject and interesting light. Next, make three tripod exposures at ISO 100 and f/8, varying only the shutter speed. Compare highlights and shadows. Then spend five minutes focusing manually using magnified live view. Take a second set with a wider aperture and faster shutter, and compare sharpness.
Use the final ten minutes to try a different composition: move lower, include a reflection, or wait for a car to pass through the frame. Record the settings for your favorite result. This small experiment helps you understand how exposure, focus, and composition interact without changing every variable at once.
12. Frequently Asked Questions
What is the best ISO for night photography?
Use the lowest ISO that still permits the shutter speed and aperture your subject requires. ISO 100 is useful for tripod-based static scenes; handheld action may require ISO 1600, 3200, or higher depending on the camera and lighting.
Can I take night photos without a tripod?
Yes. Use a wider aperture, a sufficiently fast shutter, image stabilization when available, and a higher ISO if necessary. Brace yourself against a stable surface and shoot several frames to improve your chances of a sharp result.
Why are my night photos blurry?
Check three causes separately: camera shake from a slow shutter, subject movement, and missed focus. A tripod fixes only the first. Moving subjects need faster shutter speeds, while missed focus requires better focusing technique.
Should I shoot night photographs in RAW?
RAW is generally a good choice when you plan to edit mixed lighting or high-contrast scenes. JPEG is still useful when you need smaller files and minimal editing, but it leaves less flexibility for major corrections.
Conclusion
Great night photographs are made through deliberate choices rather than a secret camera setting. Begin with a stable camera, identify the most important highlights, confirm focus, and choose an exposure that suits the subject. Practice the night photography tips for beginners above in one familiar location, then expand to more challenging scenes as your confidence grows.