
Portrait posing tips for beginners should make a photo session feel easier, not more complicated. Most people are not professional models, and a long list of technical instructions can make them self-conscious. The solution is to start with comfortable positions, clear communication, and simple movements.
This practical guide explains how to direct shoulders, hands, eyes, seated poses, and walking portraits. You will also learn how to combine natural light and background choices without repeating an entire camera-settings lesson. The aim is a portrait that looks like the person—not a rigid imitation of a studio pose.
Table of Contents
What Makes a Portrait Pose Look Natural?
A natural-looking portrait is not necessarily unposed. It is a photograph in which the subject appears comfortable, engaged, and connected to the setting. Small directions about posture, hands, and eye line can make a photograph feel spontaneous without leaving the person wondering what to do.
Instead of asking someone to freeze in a perfect position, give them an easy action: walk a few steps, adjust a jacket, turn toward the window, or take a breath. Photograph the transition between positions. Those in-between moments often look more convincing than a rigid final pose.
Natural portrait posing tips for beginners work best when you prioritize the person’s comfort. The camera is a tool, not a reason to demand an unnatural expression. Explain your idea briefly, demonstrate when useful, and invite feedback.
Start With Comfort Before Camera Settings
Spend the first minute talking rather than shooting continuously. Tell your subject where the light is best and what you hope the photograph will communicate. Ask whether they prefer standing, sitting, or moving. A relaxed conversation gives you expressions that cannot be produced by technical settings alone.
Show one successful frame on the camera screen if the person wants reassurance. Avoid criticizing body features or repeatedly telling them that a pose is wrong. Direct the photograph instead: change your angle, adjust the background, or ask for a small movement.
Check the surroundings before the session. Choose stable ground, avoid uncomfortable glare, and keep bags or cables out of walking routes. Comfort is partly physical: someone standing in strong wind or balancing on an unsafe edge will rarely look relaxed.
The Easiest Standing Pose: Turn the Shoulders
A straight-on stance can look formal, especially when both shoulders face the lens and the arms hang stiffly. Ask the person to turn their body slightly away from the camera, then bring their face back toward you. This creates a gentle difference between the shoulder line and the face.
Let weight rest mostly on one leg if that feels natural. Keep the knees soft rather than locked. The goal is not to force an exaggerated angle; it is to avoid the tension of standing at attention.
Try three versions: shoulders nearly square, a slight three-quarter turn, and a stronger turn with the face looking back. Compare which best fits the person’s character and the story of the photograph. There is no universally flattering side.
What to Do With Hands in Portrait Photography
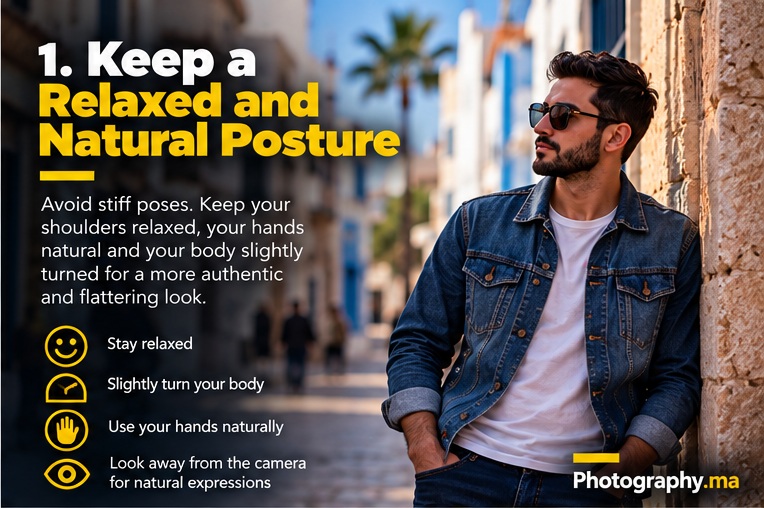
Hands are often the first thing a beginner notices because a subject may hold them rigidly or hide them without intention. Give the hands a simple purpose: lightly hold a jacket, rest on a railing, touch a hat, or hold a cup that belongs in the scene.
Keep fingers relaxed and avoid gripping props tightly. If hands rest near the face, leave some space rather than pressing the skin heavily. Ask the person to move their hands slightly between frames so you can choose the most natural arrangement.
Hands can also stay out of frame when the composition does not need them. A head-and-shoulders portrait does not require inventing an awkward gesture. If you crop near a wrist or elbow, check that the edge does not create a distracting partial limb.
Seated Portrait Poses That Feel Relaxed
A bench, low wall, or chair can help someone feel grounded. Start with a comfortable seated position, then ask for a slight lean toward the camera or a gentle turn of the torso. A small forward lean can create engagement, but it should not look strained.
Give the arms a resting place. One forearm might rest loosely on a knee, or both hands may sit in the lap. Watch for raised shoulders and compressed neck posture; ask the person to reset and breathe.
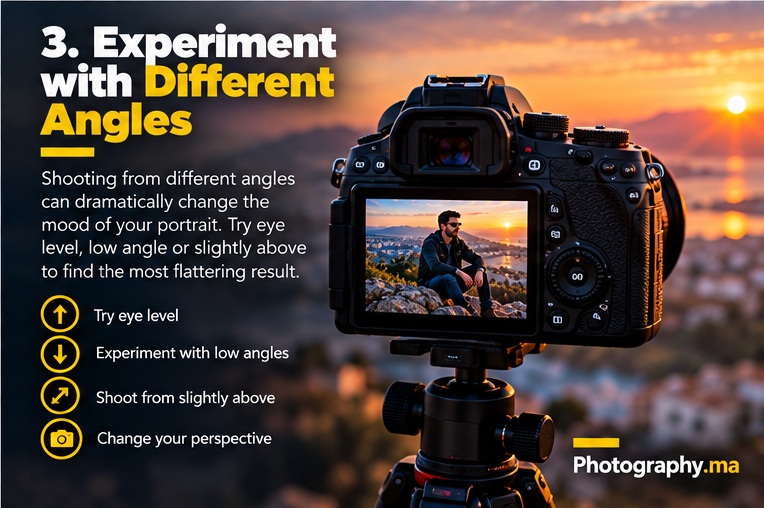
Photograph from several heights. Shooting too low may emphasize knees or distort proportions with a wide-angle lens. Move back and use a moderate focal length if the scene allows. Keep the background clean around the head and shoulders.
Walking Poses for Genuine Movement
Walking is one of the simplest portrait posing tips for beginners because the person has something specific to do. Ask your subject to walk slowly toward you, pass across the frame, or turn back after a few steps. Explain where to stop so neither of you walks into obstacles.
Use a shutter speed that freezes the movement you want. Around 1/250 second can be a useful starting point for a gently walking person, but faster movement, longer focal lengths, and lower light change the requirement. Continuous autofocus may help maintain focus as distance changes.
Take short bursts rather than holding the shutter down for the entire walk. Look for a clean stride, relaxed hands, and an expression that suits the scene. Repeating a short path is usually more productive than trying to stage a long complicated movement.
Further reading: autofocus modes.
How to Direct the Eyes and Expression
Where the eyes look changes the story. Looking directly at the lens creates connection. Looking just past the camera can feel thoughtful. Looking toward a person or object in the scene adds context. Ask for one direction at a time so the expression stays coherent.
Instead of demanding a smile, invite a real response. Ask a simple question, suggest a pleasant memory, or let the subject react to the environment. Never pressure someone to perform an emotion they do not want to show.
Focus carefully on the near eye when the depth of field is shallow. Eye-detection autofocus can be helpful, but confirm the camera has selected the intended person and eye. An expressive portrait loses impact when the eyes are unintentionally soft.
Use Light to Support the Pose
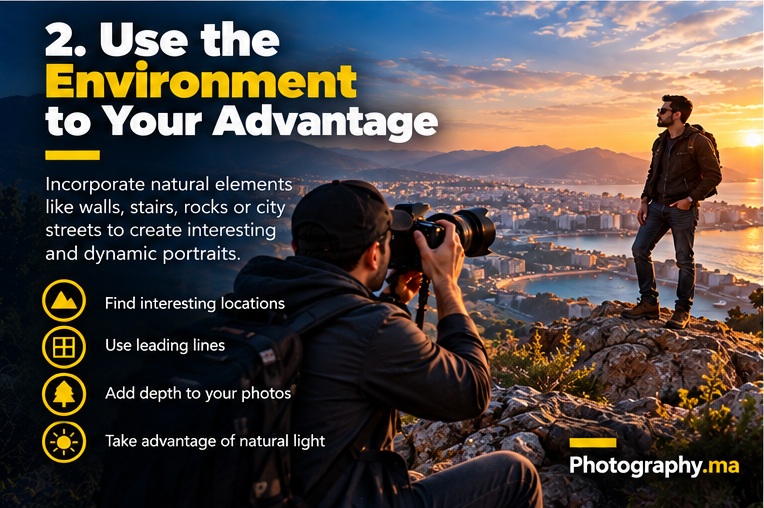
Good posing and good lighting work together. Near a window, turn the face slightly toward the brighter side and watch how the shadows change. Outdoors, open shade can provide soft, even light; low sun can create warm edges or dramatic side light.
Do not assume the subject must always face the sun. Direct sunlight can cause squinting and harsh shadows. Move into shade or rotate the person until their expression is comfortable. A small change in direction may be more useful than changing camera settings.
For a detailed explanation of light direction, reflectors, and simple setups, read our portrait lighting guide. This article focuses on body language and direction rather than repeating a complete lighting lesson.
Further reading: portrait lighting guide.
Choose a Background That Complements the Person
Portrait posing tips for beginners become easier when the location supports the subject. A plain wall, shaded street, garden, or uncluttered room gives the person fewer distractions. Check for poles, branches, and bright objects appearing to grow from the head.
Separate the subject from the background when possible. Moving a few steps forward can soften a distant background at a given aperture and focal length. Do not rely entirely on maximum blur: recognizable surroundings can be part of an environmental portrait.
Frame deliberately. For a close portrait, leave enough space around the face and check the edges. For a wider portrait, include meaningful context such as a workspace, market, or coastline. Background choices should help viewers understand the person, not compete for attention.
Further reading: portrait photography tips.
Natural Portrait Posing Tips for Beginners With a Smartphone
A smartphone is sufficient for practicing direction and body language. Use the main camera or an appropriate portrait lens mode if it looks natural. Step back rather than holding a wide-angle camera extremely close to the face, which can exaggerate nearby features.
Tap the face or eye to focus and check exposure. Portrait mode blur can produce errors around hair, glasses, or hands, so inspect the result and switch to standard photo mode when the effect looks artificial.
Use the phone’s burst or motion-photo feature for walking poses if available. The same principles apply: comfortable posture, clear hand placement, a simple background, and good communication. Better direction often improves a smartphone portrait more than aggressive editing.
Further reading: smartphone photography tips.
Posing Mistakes Beginners Can Fix Immediately
One common mistake is giving too many instructions at once. ‘Turn, tilt, smile, raise your hand, and look left’ overwhelms the subject. Change one element, photograph it, and then refine. Another mistake is copying a dramatic fashion pose without considering whether it suits the person.
Watch for tense shoulders, clenched hands, locked knees, and a forced chin position. Invite the person to shake out their arms, look away briefly, and reset. Never ask them to hold an uncomfortable position just because it looks good through the viewfinder.
Also avoid using the same pose for everyone. Body shape, mobility, clothing, cultural context, and personal preferences matter. A good photographer adapts the direction to the individual rather than forcing the individual into a template.
A 15-Minute Portrait Posing Practice Session
Choose a comfortable location with soft light and a simple background. Spend two minutes talking and checking where your subject wants to stand. Take three photographs with a slight shoulder turn, then three with a different eye line. Compare the results without changing every variable at once.
Next, ask for one hand action: adjusting a sleeve, holding a bag, or resting a hand lightly on a railing. Photograph the start, middle, and end of the movement. Then make a seated portrait and a short walking sequence, watching how expression changes.
Finish by showing a small selection and asking which frames feel most like the person. Review posture, hands, background, eye sharpness, and expression. Keep notes about directions that worked so the next session becomes easier.
Portrait Posing FAQ
Should everyone smile in a portrait? No. The expression should suit the person and the purpose of the image. What if someone says they are not photogenic? Avoid arguing or promising perfection. Offer a simple direction and let them see a natural frame.
Where should hands go? Give them a comfortable purpose, but do not force a prop into every picture. Is sitting easier than standing? It can be, especially for someone who feels awkward, although the best choice depends on the scene and their comfort.
Do I need a portrait lens? No. A dedicated portrait lens can change perspective and background rendering, but communication and light are more important for learning natural poses.
Further reading: Nikon Learn & Explore.
Final Thoughts
Natural portrait posing tips for beginners are really lessons in communication. Start with comfort, use one clear direction at a time, and look for authentic transitions between movements. A slight shoulder turn, a relaxed hand, or a genuine glance can improve a photograph without complicated equipment.
Practice with the same person in several simple situations. Compare results, keep the directions that feel natural, and remember that the best pose is the one that suits the individual rather than a formula.