
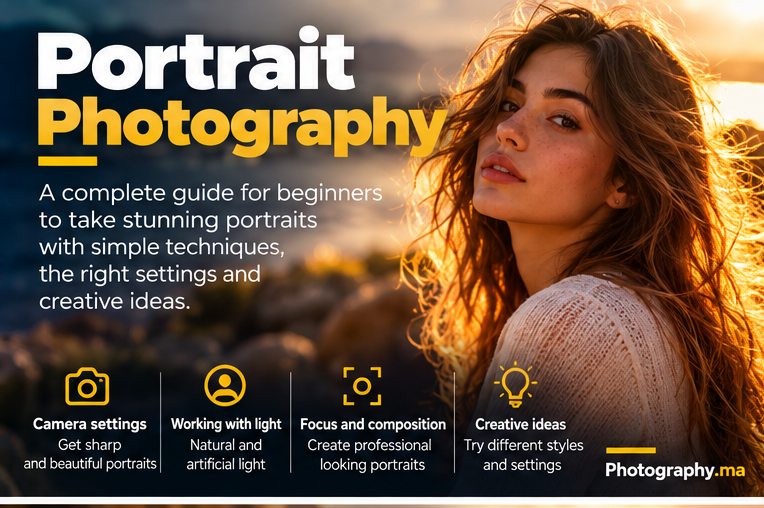
Portrait lighting for beginners is easier to understand when you stop thinking about expensive equipment and start looking at the direction, size and contrast of the light. A window, an open doorway, a cloudy sky or a patch of shade can create a flattering portrait when the subject is positioned carefully.
This practical guide explains how to recognize useful light, place your subject, expose skin tones and correct common problems. Start with one light source and one person. Once you can predict the result, add a reflector or a small lamp only when it solves a specific problem.
Table of Contents
Portrait Lighting for Beginners: Start With Light Direction
The direction of the light controls where shadows fall. Front light makes facial features evenly visible but can look flat. Side light adds shape and texture. Backlight creates a bright rim around hair or shoulders but often requires exposure compensation or a reflector to keep the face from becoming too dark. These portrait lighting for beginners principles apply whether you use a phone or an interchangeable-lens camera.
Ask the subject to turn slowly while you watch the catchlights in their eyes. Move yourself as well. A shift of one or two steps can transform harsh midday light into gentle side illumination when a wall or building blocks direct sun.
Try a simple experiment: photograph the same face with light coming from the front, at about 45 degrees, and from behind. Keep the framing and exposure similar. Compare shadow shape, skin texture and the separation from the background.
Best Camera Settings for Portrait Lighting
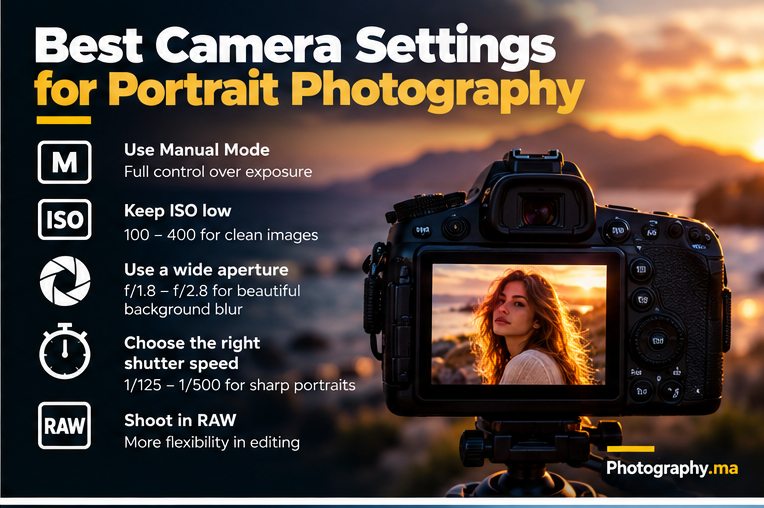
There is no single perfect camera setting for every portrait. Use aperture priority when light changes quickly, or manual exposure when lighting stays stable. Focus on the nearest eye for a conventional single-person portrait and review sharpness at full magnification.
Outdoor shade: Aperture f/2.8–f/4, shutter at least 1/250 s for small movements, Auto ISO as needed.
Golden hour: Aperture f/2–f/4, adjust shutter speed for motion, check skin highlights and watch for flare.
Window portrait: Aperture f/2–f/4, raise ISO rather than allowing an accidentally slow shutter.
Group portrait: Use f/4–f/8 depending on the number of rows; make sure every face falls within acceptable focus.
These are starting points, not strict rules. A moving child may need 1/500 s or faster. A very close portrait at f/1.4 may leave one eye sharp and the other soft. Test and adjust for the subject, lens and available light.
Use Window Light for Soft Indoor Portraits
A large window acts like a broad light source. Place the subject a little to the side of it, not directly in the brightest beam of sun. Turn the face toward the window until the eyes receive clear catchlights and the shadow side retains useful detail. Window setups are among the simplest portrait lighting for beginners exercises because you can change the direction without purchasing a light.
For a gentle result, use a sheer curtain to diffuse direct sunlight. For a moodier portrait, move the subject farther from the window or let the unlit side of the face fall into shadow. Avoid mixing strongly different color temperatures unless the contrast is intentional.
Keep the background simple. Moving a person several feet away from a distracting wall can improve separation more than opening the aperture another stop. Look for bright objects behind the head, crooked lines and unwanted reflections.
Open Shade: The Most Reliable Outdoor Starting Point
Open shade means the subject is protected from direct sun but still faces a bright area of sky. Under a porch, beside a building or near the edge of tree shade, this can produce softer transitions across the face than direct overhead sunlight.
Have the subject face the open sky rather than a dark wall. Watch for patchy sunlight coming through leaves: bright spots on cheeks or foreheads are difficult to repair later. Step a short distance until illumination is consistent.
Cloudy weather can work beautifully, but an overcast sky does not automatically make every portrait interesting. Turn the subject toward the brightest part of the sky to create direction, and avoid placing the face beneath a deep, dark overhang.
Golden Hour and Backlit Portraits
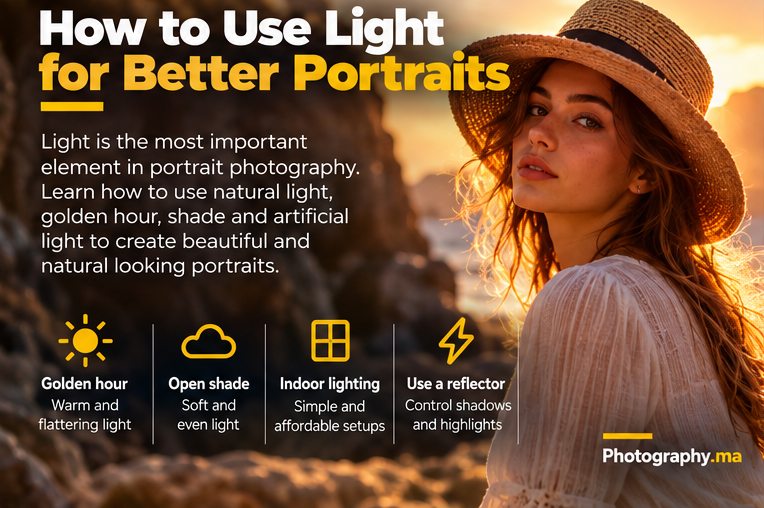
When the sun is low, warm light can skim across hair and shoulders. Put the sun behind the subject for a rim-lit look, or slightly to one side for warm dimensional light. Shield the lens from direct sun if flare reduces contrast more than you want.
With strong backlight, a camera meter may expose for the bright background and leave the face dark. Use exposure compensation, spot or face metering where appropriate, and check the result. If you brighten the face substantially, expect the sky to become lighter too. For more on exposing backlit subjects, see our aperture photography guide.
A small white reflector placed below or opposite the sun can brighten eye sockets and reduce contrast. It should look like natural fill, not an additional spotlight. Ask an assistant to hold it safely out of the frame and keep it from dazzling the subject.
A Reflector Before a Flash
A white reflector gently returns light without changing its color much. Silver provides a stronger, more directional effect and can be uncomfortable in direct sun. Gold can create an exaggerated warm cast on skin, so use it cautiously.
A piece of white foam board can be enough for practice. Place it just outside the frame on the shadow side and rotate it until the catchlights appear. If the shadows disappear entirely, pull it back or change its angle. The goal is to support the main light, not flatten the face.
Simple One-Light Portraits at Home
If natural light is unavailable, use one continuous LED lamp with a diffuser or a large softbox. Put the light roughly 30–45 degrees to one side of the subject and slightly above eye level. Move it closer for softer relative light when the source is physically large enough.
Do not aim a bare, tiny, very bright lamp straight at the face. It creates hard shadows and can be unpleasant. Diffuse it with equipment designed for the lamp, follow heat and electrical safety guidance, and keep the background a comfortable distance away.
Set a consistent white balance or shoot RAW if you plan to adjust color later. Mixed daylight and warm room bulbs may give skin an uneven color. Turning off unnecessary room lights often produces a cleaner starting point.
How to Pose and Compose With the Light
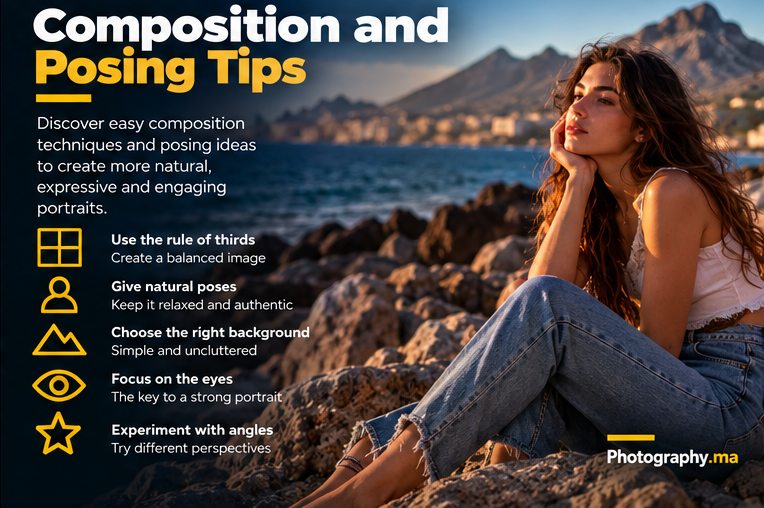
Give simple instructions: shift weight onto the back foot, relax shoulders, turn the body slightly and bring the face back toward the light. Ask for small movements rather than holding one rigid pose. Keep the nearest eye sharp and check that the jawline is not hidden by a dark shadow.
The background matters as much as the face. A bright patch directly behind the head competes for attention; a clean, darker background can emphasize illuminated skin. Try both horizontal and vertical framing and leave space in the direction the person is looking. For additional framing ideas, explore our portrait photography tips.
At longer focal lengths, step back to frame the subject comfortably; at shorter focal lengths, avoid placing a face too close to the edge of the frame where perspective and lens distortion may look unflattering. Camera position affects perspective, not simply the focal length printed on the lens.
Seven Common Portrait Lighting Mistakes
1. Direct noon sunlight: Look for open shade or turn the face away from the sun and expose carefully.
2. Dark eyes: Move toward open sky or add gentle fill from a white reflector.
3. Patchy leaf shadows: Reposition the subject until the face is evenly lit.
4. Blurry portraits: Increase shutter speed; raise ISO when needed rather than underexposing.
5. Distracting background: Change camera angle, subject-to-background distance or framing.
6. Excessive skin smoothing: Retain natural texture and avoid unrealistic color grading.
7. Chasing very wide apertures: Use enough depth of field to keep the important facial features sharp.
A 20-Minute Portrait Lighting Practice Session
Minutes 1–5: Find a window or an open-shade location. Make three portraits with the face turned toward, across and away from the brightest direction. Note the shadow shapes. This portrait lighting for beginners exercise is more useful when you compare images at the same exposure.
Minutes 6–10: Hold the framing steady while moving the subject closer to and farther from the light. Compare how contrast and the brightness of the background change.
Minutes 11–15: Add a white reflector or foam board to the shadow side. Make one frame with fill and one without. Check whether the result looks more natural, not simply brighter.
Minutes 16–20: Change the background and composition. Take one close portrait, one environmental portrait and one vertical frame. Review eye sharpness, skin highlights, catchlights and the edges of the image.
Frequently Asked Questions
What is the best light for beginner portraits?
Open shade and a large window are reliable starting points because they are easy to control. The best light is the light that supports the mood and keeps important facial detail visible.
Do I need a flash for good portraits?
No. Natural light and a simple reflector can teach you the essential principles. Flash becomes useful when you need repeatable lighting or more control over the background.
Should I always use f/1.8?
No. Very wide apertures create shallow depth of field, which can make precise eye focus difficult. Stop down when the face is angled, the subject moves or several people need to be sharp.
How do I avoid harsh shadows?
Use a larger apparent light source, move to open shade, diffuse appropriate lights, or introduce subtle reflected fill. Shadows can also be intentional; the aim is to control them.
Final Checklist Before You Shoot
Check light direction, catchlights, skin highlights, shutter speed, eye focus, background distractions and expression. Make one small change at a time so you learn which choice improved the photograph. When your portraits look soft, revisit our autofocus modes guide.
Related portrait guide Read the related guide
Aperture explained Read the related guide
For further educational reading about photographic lighting, explore Nikon photography learning resources.
1 thought on “Portrait Lighting for Beginners: Natural and Simple Setups”
Comments are closed.