
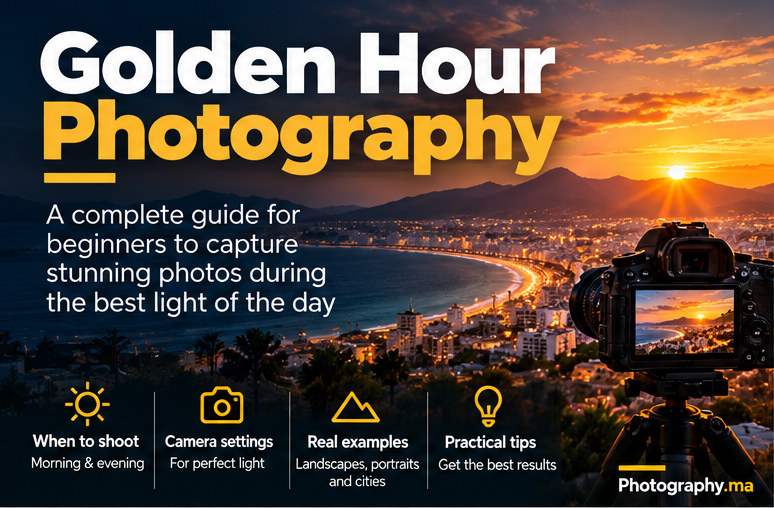
Golden hour photography is about using the low, warm light near sunrise or sunset to create pictures with flattering shadows, separation and atmosphere. You do not need expensive equipment. You need a plan for the changing light, a reliable exposure method and a clear subject.
The “hour” is not a fixed sixty-minute window: its duration depends on season, latitude, weather and the horizon. The most useful approach is to arrive early, observe the direction of the light and make deliberate changes as the sun moves.
Table of Contents
What Is Golden Hour Photography?
Golden hour photography uses sunlight when the sun is low above the horizon, usually shortly after sunrise or before sunset. Light travels through more atmosphere, often appearing warmer and producing longer shadows than midday sunlight. Haze, clouds and local geography can change the result dramatically.
Warm light is not automatically better. A flat overcast sunset may have little visible golden glow, while a break in the clouds can create a beautiful two-minute opportunity. Look for light that gives shape to the subject rather than relying on the clock alone.
When to Shoot: Timing and Weather
Check local sunrise and sunset times and arrive at least thirty minutes before your planned sequence. For a sunrise session, scout the location the previous day when possible. For sunset, begin shooting while the sun is still above the horizon, then stay for the softer colors that follow.
A west-facing beach can be ideal for a sunset silhouette, but a subject facing east may receive the most attractive front light in the evening. Buildings, cliffs and mountains can hide the sun early. Use a weather forecast for cloud cover and wind, but assess the scene in person.
Make a three-stage shot list: first capture directional side light; next try backlight and rim light as the sun drops; finally photograph the softer ambient color after the sun disappears. This simple plan prevents you from spending the entire session changing settings.
Golden Hour Photography Camera Settings
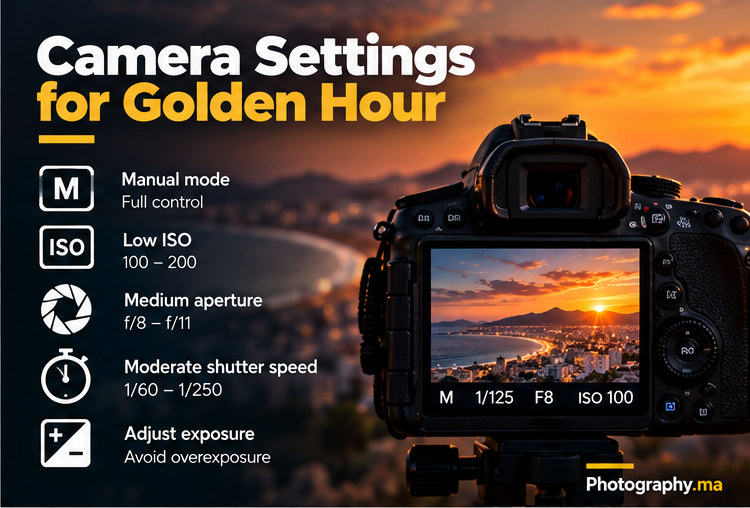
Start with aperture priority when the light is changing quickly. Select the aperture for your subject, set an appropriate minimum shutter speed and let the camera adjust exposure. Manual mode is helpful when you want a series of consistent frames, especially for panoramas or silhouettes.
For a static landscape, try ISO 100, f/8 and a shutter speed chosen by the meter; use a tripod if the shutter becomes too slow. For a person standing still, start around f/2.8–f/4, ISO 100–400 and 1/250 second or faster when needed. For moving children or pets, prioritize a faster shutter such as 1/500 second, adjusting ISO accordingly. These are starting points, not universal prescriptions.
Watch the histogram and highlight warning rather than trusting the brightness of the rear screen. Protect important detail near the sun when possible, but remember that the sun itself may clip. If the face is too dark in backlight, use exposure compensation, a reflector or subtle fill light rather than overexposing the entire sky.
Shoot RAW when practical: it gives more flexibility for white balance and highlight recovery. Auto white balance can neutralize the warmth you liked, so try a daylight preset for consistent color across a series. Avoid forcing every image to look orange.
For a deeper understanding of how aperture, shutter speed, and ISO work together, explore the Nikon photography learning resources.
How to Position the Sun for Better Pictures
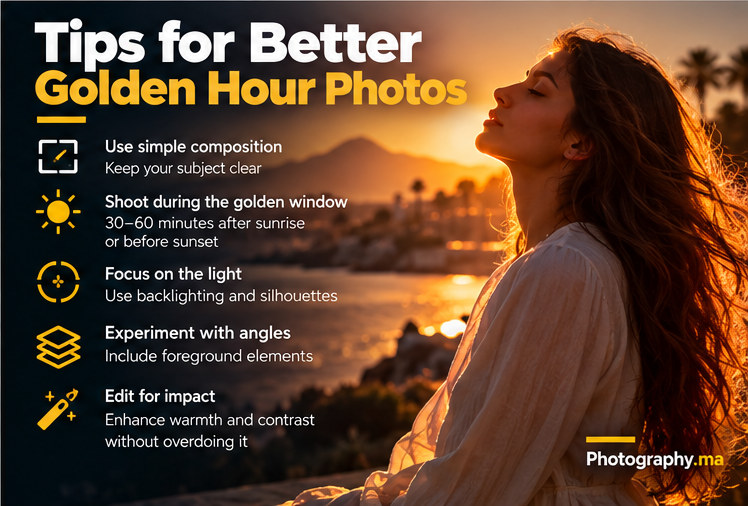
Front light comes from behind the camera and can produce clear detail and rich colors, but it may cause subjects to squint. Side light brings out textures on rocks, walls, trees and faces. Backlight creates glowing hair, translucent leaves and silhouettes. Move a few steps before changing lenses: the relationship between subject and background often matters more than focal length.
For a backlit portrait, place the sun just outside the frame or partially hidden behind the subject. Use a lens hood and watch for distracting flare. Focus on the nearer eye; if autofocus struggles, aim at a contrast-rich edge on the face and recompose carefully.
For a silhouette, expose for the bright background and keep the subject’s outline readable. Separate arms from the torso, avoid overlapping objects and choose a clean horizon. Silhouettes work because of recognizable shape, not because the entire foreground is black.
Golden Hour Landscape Photography
Build the frame with a foreground, a middle ground and a clear point of interest. A textured rock or winding path can lead the viewer toward the warm sky, but do not include foreground objects merely to fill space. Check the corners for clutter and keep the horizon level unless a deliberate tilt serves the picture.
Use a tripod for precise framing or when the light becomes dim. A circular polarizer can affect reflections and sky contrast, but its effect varies with the sun angle; avoid using it automatically on wide-angle skies. Graduated exposure blending may help a very bright sky, provided moving water and trees are handled carefully.
If you need everything sharp from a very close foreground to distant mountains, consider a focus-stacking sequence. Keep camera position fixed and overlap focus distances. It is not necessary for every landscape: a moderate aperture and sensible focus distance may be sufficient.
Related guide: Focus Stacking in Photography
Golden Hour Portrait Photography
Choose a background that is darker than the illuminated edge of your subject for attractive rim light. Keep the eyes sharp and pay attention to the direction of the nose shadow. Ask the subject to turn slightly until the light defines the face without creating harsh patches.
A longer focal length can simplify a busy background; a wider lens can show the environment and tell a fuller story. For environmental portraits, keep enough distance from the subject to avoid unflattering perspective distortion. Use burst mode sparingly and give simple posing directions instead of firing dozens of identical frames.
Do not assume warm light flatters every skin tone equally. Set exposure for the face, check color accuracy and avoid aggressive orange grading. A white reflector can lift shadows without changing their color as much as a gold reflector might.
Cities, Streets and Wildlife at Golden Hour
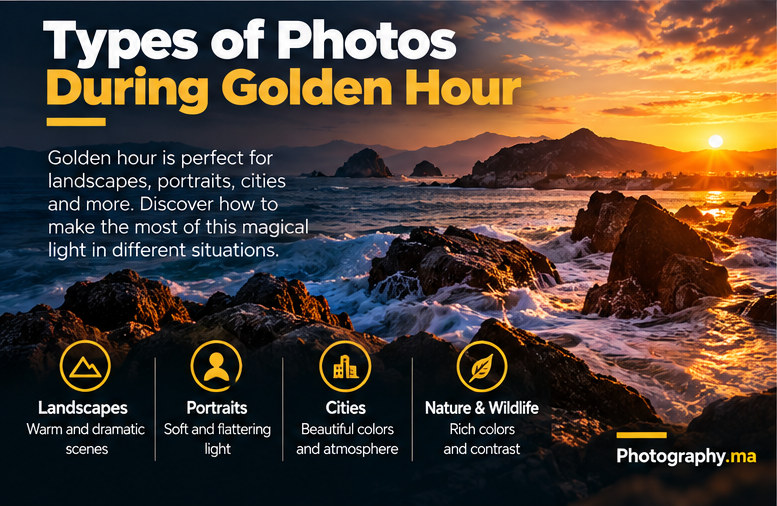
City scenes benefit from side-lit facades, long shadows and reflections in windows. Find a viewpoint where the sun gives the buildings shape. Street photographs may include people crossing pools of light; wait for a clean gesture or a person entering the lit area rather than chasing every subject.
For wildlife, never approach animals just to place the sun behind them. Use distance and patience, and keep shutter speed fast enough for movement. If the subject is small in the frame, a carefully composed environmental wildlife image can be stronger than a blurry close-up.
Composition Techniques That Work in Warm Light
Golden hour photography can look dramatic even with a simple subject, so avoid overloading the frame. Try placing the horizon above or below center depending on whether the foreground or sky carries the story. Leading lines, natural frames and negative space can help the viewer find the subject.
The rule of thirds is a useful starting point, not a requirement. Centered compositions can work beautifully with reflections, symmetry or a strong silhouette. The best test is to ask what the viewer should notice first, then remove distractions that compete with it.
Related guide: Photography Composition Rules
Exposure, Dynamic Range and White Balance
Low sun can create an extreme brightness difference between sky and foreground. Take a test image, inspect the histogram and decide which details matter. Exposure bracketing is useful for stationary scenes, but moving people, waves and branches can create ghosting when blended.
If the colors look unnatural, compare daylight white balance with auto white balance before adjusting temperature and tint in editing. Preserve believable skin tones and allow shadow areas to stay somewhat cool when that reflects the actual scene.
Related guide: White Balance Explained
Related guide: How to Read a Camera Histogram
Editing Golden Hour Photos Without Overdoing It
Start by correcting exposure and white balance, then adjust highlights and shadows gently. Use selective masks to brighten the subject or reduce an overly bright corner. Moderate contrast often retains the soft feeling of evening light better than extreme clarity and saturation.
Compare the edit with the original after a short break. If the sky has lost texture, the skin looks orange or the shadows are unnaturally bright, pull back. A consistent series of subtle edits is usually more useful than one spectacular but implausible frame.
Seven Common Golden Hour Mistakes
• Arriving exactly at sunset: you miss the changing side light and have no time to compose.
• Using ISO 100 at all costs: a blurry portrait is worse than a sharp image with modest noise.
• Ignoring the background: warm light does not rescue clutter or an awkward horizon.
• Overexposing faces in backlight: check the histogram and add fill when appropriate.
• Stopping immediately when the sun disappears: post-sunset color can be excellent.
• Making every photo orange: maintain believable whites, skin tones and local color.
• Changing too many settings at once: start with a reliable baseline and adjust one variable.
A 20-Minute Golden Hour Practice Exercise
Choose one accessible, safe location with a subject you can photograph repeatedly. In the first five minutes, take three frames with the sun behind you, beside you and behind the subject. Keep focal length and camera position as consistent as possible so you can compare lighting.
During the next five minutes, make one wide environmental composition, one tighter frame and one silhouette. In the third five-minute period, vary exposure compensation while keeping the scene fixed. Finally, review the histogram and select the strongest image from each group.
At home, compare sharpness, highlight detail, color and visual hierarchy. Write down one thing to repeat and one thing to change. This exercise teaches more than memorizing a single “perfect” sunset setting.
Golden Hour Photography FAQ
Is golden hour always sixty minutes? No. Its duration depends on location, season, weather and surrounding terrain. Use the light you actually see rather than a fixed timer.
Can I photograph golden hour with a smartphone? Yes. Tap to expose for the subject, reduce exposure when the sky is too bright and keep the phone stable in low light. RAW or manual controls, if available, can offer additional flexibility.
Should I use manual mode? Not necessarily. Aperture priority with exposure compensation is often faster for changing light. Manual mode is helpful when consistent exposure matters across multiple frames.
What if the sunset is cloudy? Look for soft light, reflections, silhouettes and brief breaks in the clouds. A dramatic sky is not required for a meaningful photograph.
Final Checklist Before You Leave
Know your sunrise or sunset time, arrive early, choose a clear subject, watch your shutter speed, protect important highlights, and photograph the changing direction of light. Golden hour photography improves fastest when you practice the same scene in several lighting arrangements instead of relying on warm color alone.